Thursday, February 21, 2019

Come, Follow Me This Week


I'm not going to lie, I struggled the first little bit when the new curriculum came out.  I've got three young kids at home, and knew I needed to step up my teaching moments, but struggled.  We read scriptures together as a family every night, we have family prayers, we try to hold Family Home Evening each week, but I just couldn't figure out how to teach from the manual.  My three boys (ages 6 to 9 months) are active, energetic boys.  They don't sit while we read scriptures, they don't listen when we hold Family Home Evening.  How was this new curriculum going to work with a house full of boys?

I was studying each week's lesson and trying to come up with some kind of lesson for FHE each week that applied, then try and talk about the different concepts each week, but it ended up being me or my husband opening the manual for scripture study and reading to them a sentence or two then trying to ask questions. (let me state nothing is wrong with this at all, it just felt like none of us were benefitting from it).  I guess I needed to put in more family prep time.  It just felt so overwhelming.  I was learning things, but how I didn't know how to share that with my kiddos.

A couple weeks ago I came across this Instagram account @ComeFollowMeFHE and it truly has been a game changer.  I don't know how Angie finds the time to create (young) family-friendly lesson plans, activities, detailed instructions for each week's lesson, but she does!  And it has helped me truly study and find the topics within those weeks that I can teach my family.  She creates Family Home Evening plans, she has coloring pages and activities, she has extra ideas and then gives details and more tips & help on her feed.  She has a blog explaining everything.  She puts in SO much time & energy into these.  It has helped me see the lessons differently and taught me how to look for principles that apply to my family.  Please, go check out her site, her blog, her feed.  She truly is a blessing!

As I've been following her plans and adapting them to our family, I really enjoyed one of the activities she had.  It was a different challenge every day for the entire week.  I can't even remember which week it was, but I really liked giving my kids a specific challenge and then discussing it that night.  I wanted to keep that going, to have a little piece each day that we could learn and actually apply.  I came up with the "Come, Follow Me This Week" idea.  Each day we can focus on a subtopic and hopefully apply it somehow throughout our day.  I've been studying the manual "For Individuals & Families" but also the "Primary" manual (lucky me I'm in the primary presidency so I have my own hard copy, although you can access the digital manual on lds.org).  Following Angie's guide & searching the manuals for ideas or being prompted by the Spirit to teach what ideas my boys will benefit I've found that each day there is something new I can share with them, in a way they can understand.  This has been the thing that keeps coming back to my mind.  We can learn about Christ and be familiar with His teachings, but unless we truly follow Him and apply His teachings, what good does it do?  So that's why I'm trying to have small teaching moments with my kids each day.
My Outline for each week...Discussion Topic, Follow Opportunity & Activity/Quick Lesson Idea
Each day consists of a Discussion Topic, a "Follow Opportunity" and a small activity/video/lesson idea to go along with that topic.
Here's a blank one you can fill in

This is what I've been using so far and it's actually been quite helpful.  I usually study the lesson Sunday night or Monday morning and fill this out for the week.  Monday usually consists of FHE and the rest of the week goes mostly as planned.  These are simple, mind you.  Here's a quick shot of this week and what we've been trying to do:


Each morning while the boys eat breakfast I try to introduce the day's topic, sometimes sharing scriptures or a Bible video or just briefly talk about it.  Most mornings I throw my phone in front of them with a Bible video while they eat breakfast or am trying to tell them about the topic while I'm getting my baby dressed.  It's not a "let's sit down and formally discuss this new topic."  Honestly, who has time for that (if you do, then that is awesome and I want to know your secrets).  Then I share the "Follow Opportunity" with them and ask them to try it at school or throughout their day.  This usually happens in the car at school drop off, me last minute remembering as I help my 6-year-old put on his coat and backpack.  "Remember the video we watched this morning?  I want you to try and be like that little boy who was kind."  Something like that.  Again, it's not a formal thing.  Some (dare I say most) days it doesn't sink in and we get the "I don't know" or "I can't remember" answers.  But were trying...right?  When we do family scripture study before bedtime I ask them about how their opportunity went and talk about their experiences.  Most times, this does not go smoothly or how I hope it would, but we discuss it anyway and talk about they learned.  We do our best.  I truly believe that through consistency, love and compassion we can help these little warriors become the people God wants them to be.  And as I teach them and encourage them, I've noticed myself making a conscious effort to apply those same principles into my daily notions.  I am trying right along side with them.

Anyway, I don't know if this helps you or not, but I figured I get it out there anyway in hopes maybe there is one person it could help.

As most people have said (which I fully agree with) "Find what works for you and your family."  And study it yourself before trying to teach your family.  Like anything in life, it can go so much better when you have prepared the material you are trying to teach.

Here is a link to the actual document, or if you prefer to type it out each week (like I do) here's the blank one.  Hopefully it works, if not feel free to contact me and I can email it to you.

Also, the fonts I used for mine are Ink Free Font & Twiddlestix Font.

So, there you have it.  There's my simple way of trying to teach and apply the Savior's teachings in my life with three young boys running around:)

Happy Day

Oh, and if you'd like to learn more about this new curriculum, please visit  or click HERE
for the manuals.

Tuesday, December 19, 2017

Homemade Hot Cocoa Mix


I'm all about easy Christmas gifts for neighbors and friends.  I usually make bread, it's a nice change from the sugary treats that get distributed this time of year.  But since I'm not living close to my mom, I don't have easy access to a second mixer which means less time for bread.

So, I decided to make hot cocoa mixes.  I bought these jars at Target a couple years ago and have been hanging onto them for the right occasion. 

I've seen several recipes for hot cocoa mixes and was struggling to find the right one.  Some you had to add almost a 1/2 c. of mix to 1 c. water, which seemed a like kind of a waste to me. Others just didn't seem sweet enough.  So, after some trial and error, I came up with a pretty good mix.


This one I think is a combination of a couple. It tastes yummy and you don't have to use a TON of mix per cup.  I liked the layered look and idea, but when I started making this, I knew mixing it all would be easier (and probably easier for the recipient as well).

Here ya go:

2 c. powdered milk
2 c. coffee creamer (I used "original", but you can use a flavored one if you want)
2 c. sugar (I actually did 1 c. powdered and 1 c. granulated)
1 c. cocoa


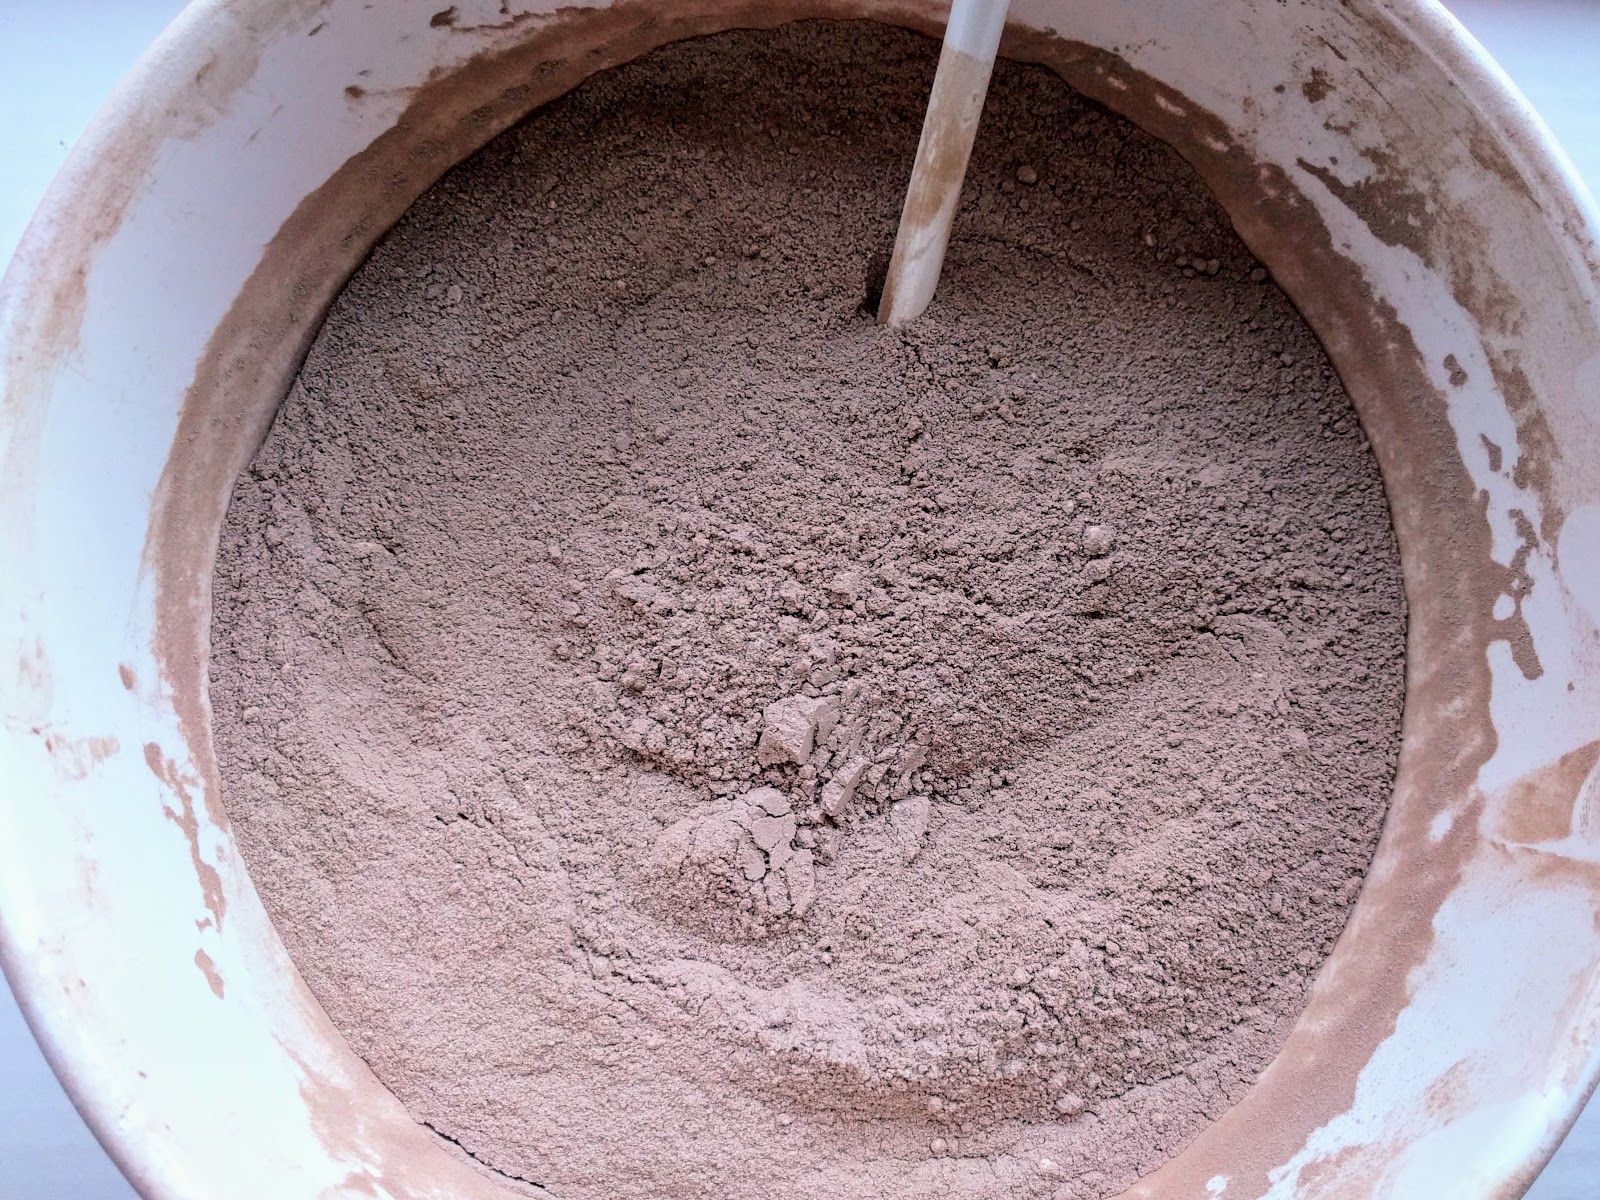
Mix it all together and then start pouring into each container you have.  My jars hold 2 c. plus a few toppings.  


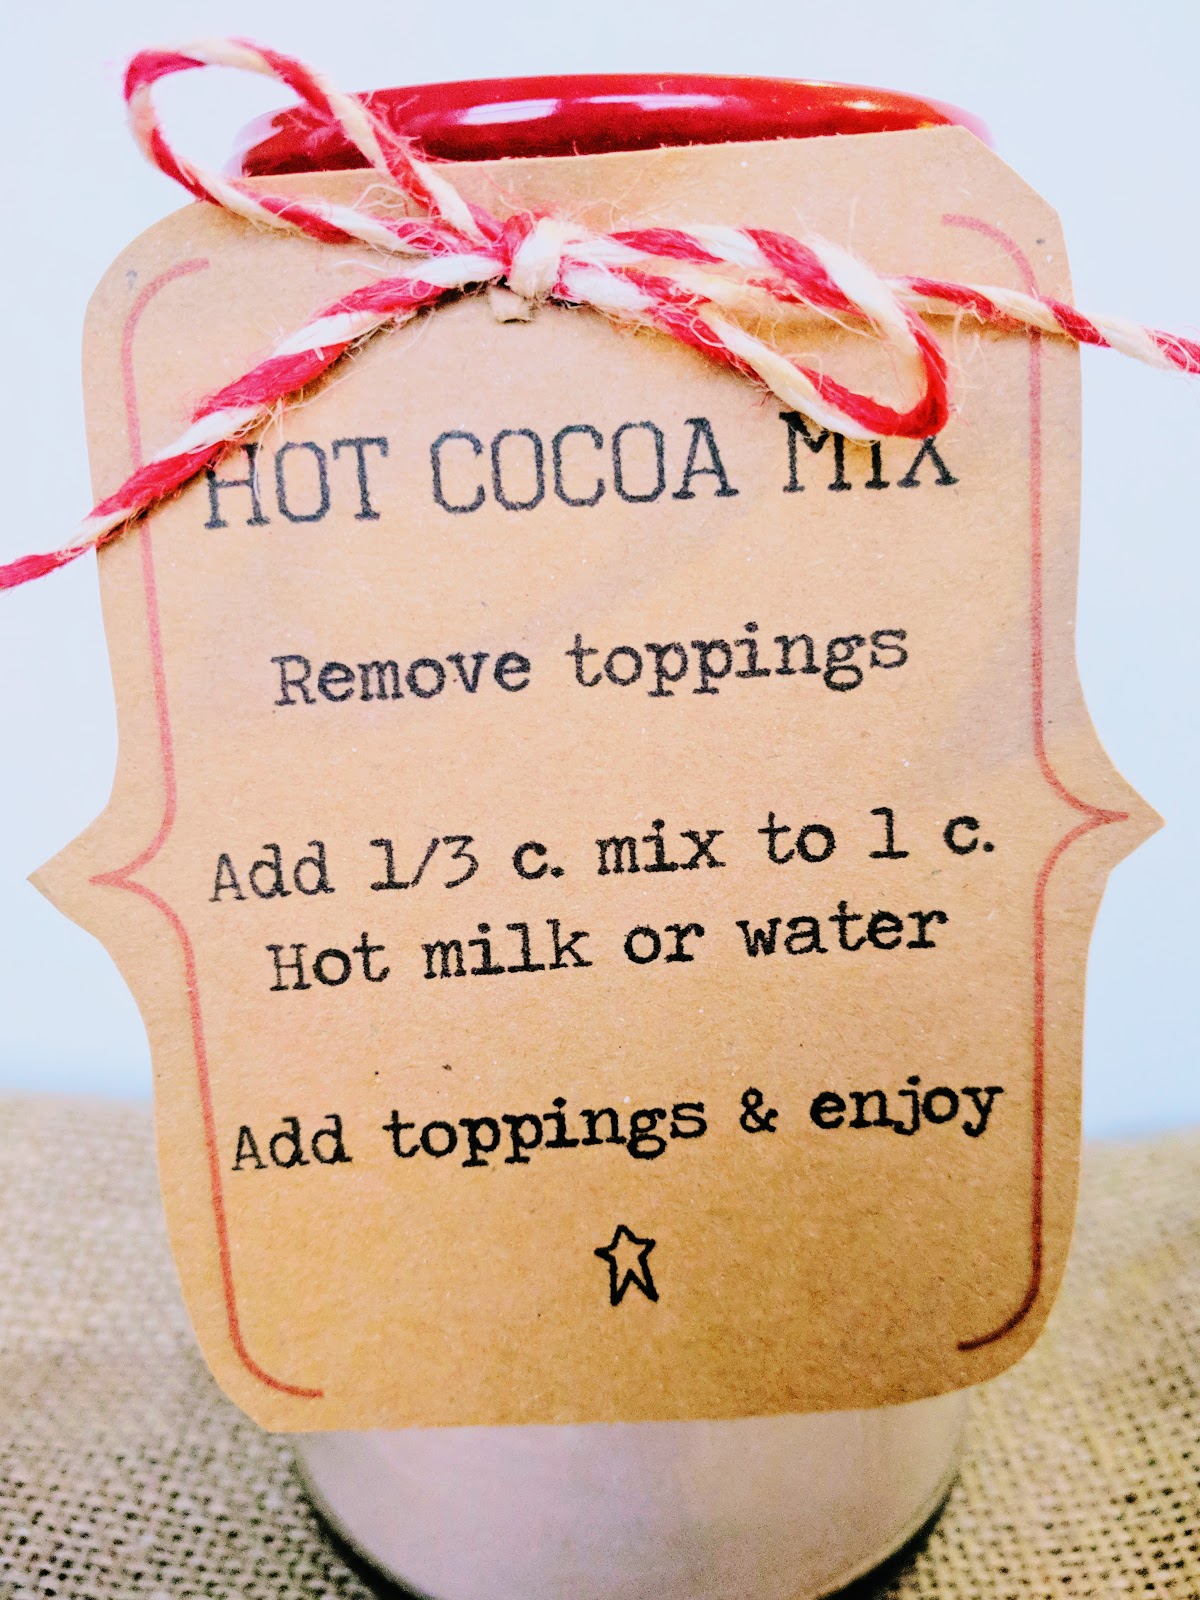
Again, I'd seen really cute tags online, but I didn't want to add 1/2 c. of mix when my jars only held 2 c. of mix (not very many servings).  And even 1/3 c. is being generous for this mix I think. 


But anyway, I made these cute tags and printed them on brown paper I bought at Wal-Mart awhile back. 


[print these out on 8 1/2 x 11]

I love the rustic (or whatever) look they have. I found the twine at Michael's and there you have it. 

*A little trick I learned to making the tags look cuter is to put the twine through twice...so both ends are coming out the front of the tag.  Then you can tie your bow in front and it doesn't make the tag lopsided and the bow looks extra cute:)


I hope this helps you if you're looking for something quick and easy for your friends, neighbors, family, or even you:)

Happiest of holidays to you!!

Tuesday, November 28, 2017

Light the World Advent Calendar Starter

Last year I followed Brightly Street's  Advent Calendar and loved it!  It correlated perfectly with the Church of Jesus Christ of Latter-day Saints' Light the World Campaign (it has been updated to fit the new Light The World calendar).  This year the Church's prompts are different (which I love), so I've come up with a few simple ideas on how to incorporate them with my two young children.

For the full calendar click: #LightTheWorld.  This will give you the scripture, and a few suggestions on how to implement that scripture into a service opportunity.

I've combined all the scriptures, the simple meaning of them (my interpretation), an object that represents that scripture and a service activity to go along with it.  I hope this helps you out as I'm excited to focus on Christ and giving this Christmas season.

Here is the list.  You should be able to print it on a regular sheet of paper (or cardstock) and use it to help you get started.

Here is a picture of all the stuff I'm putting in my "advent calendar" (aka door hanger shoe organizer).  

I don't know if you can see everything, but I think it's all there (or just about).  And I changed a few things (plate for a spoon and fork to fit in the cubby, penny jar for a few actual coins, etc.)


And here is the door hanger shoe organizer I use.  It is perfect because it fits on the door and the cubbies are just the right size for a small trinket & the cards made by Brightly Street.  

I hope this helps you or at least gives you a start on things you can do to serve others this holiday season.  

Merry Christmas!

Monday, November 20, 2017

Easy Envelope Pillow Shams


I made a couple of these shams a few years ago, but have since bought another pillow...thus I needed to make another sham.  I searched my old posts to see where my tutorial was...low and behold I never made one.  So I decided to now.  I've seen a few online, but I don't like to cut or sew more than necessary and all the tutorials I saw started with three pieces.  Mine starts with one.

My pillows are 20" x 20" so I cut my fabric 21" x 50" 21" (one side) + 21" (the other side) + 8" (fold over portion)


After this I created a 1/2" hem by folding it twice over on both of the long sides

Then I sewed all the way down these on both sides

Once I did this, I made that same hem on the short ends & sewed them down


Alright, now I had a piece of fabric that was long and all hemmed.  Then I folded it in half (hotdog)

Now I unfolded one side up 10" (to 30")

Then I folded the other end down 10" (to 10")


So now I had my sham the size it needed to be with the fold over fabric centered on the back.
I don't use pins very often when I sew, but I did pin the points of intersection for two reasons.   One-so I knew where they were to keep it even on both sides and Two-so I could make sure to sew carefully over them as they were much thicker than the rest.  

Next I sewed just down those two edges of the hemmed portion, not along the folded edges.

Now, you can flip it and be done, or you can add one extra embellishment, which is what I did.  I flipped the whole thing (right sides out), ironed it and then did a quick little 1/4" hem around the entire thing.  

Now you can put your pillow in and add ribbon or leave them plain.


I added some wired ribbon I found at Jo-Ann.  I really love how they turned out.  I'm kind of obsessed with the ticking fabric (if you haven't seen my Stocking tutorial, I used the tan ticking).


I'm kinda loving how they turned out.  I love the simplicity of the ticking, but added the red ribbon for just a little more color and accent.  I love that they bring just enough red against the Christmas tree.  I love that I can use them for other holidays throughout the year.  And, I love that I got to make them.

Total Time: 1 hour
Total Cost: $23
Fabric: (2 yards with coupon, even though I have tons of extra) $15
Ribbon: $8 (didn't have a coupon)


Great-Grandma's Rolls


 Ever since I can remember, these have been at our family dinners.  My grandpa spends hours making them for us because he knows how much we love them.  They are fluffy, the perfect amount of golden, and get devoured.


A few years ago I decided to ask him for his secret recipe and see if he would let me make them with him, so I could find out all his little tricks to making the perfect dinner roll.  He was happy to help and he told me the first secret about the recipe.

For as long as I can remember we've called these "Grandpa's Rolls" because he always made them.  I just figured it was his recipe, or handed down from his family.  But it actually came from my grandma's family.  Her mother was the one that would make them.  I saw the original recipe, all marked up with my great-grandma's writing, smudges here and there, a few butter stains and bits of flour caked on.  It was magical. We started making the rolls.  It was such a special day for me.

As you know, rolls take awhile to make.  It's not a quick throw ingredients together and toss them in the oven.  They take time, they take patience, they take care.  It was so fun spending the entire day with my grandpa, talking with him about memories from when he was a kid, seeing him work with his hands, taking such care to knead the bread.  I'm so grateful I got to share this day with him, to learn from him, to learn about him.

Okay, let's get to the recipe shall we?

Here's what you'll need:
.3 eggs
.1/2 c. warm water
.2 Tbs. yeast
.2 Tbs. sugar
.3/4 c. sugar
.2 c. milk
.1/2 c. butter flavored shortening
.7-7 1/2 c. flour
.2 tsp. salt

The easiest thing I've found is to use my three Pyrex liquid measuring cups and my Bosch.

1. In a 1 c. measuring cup whisk eggs until frothy
2. In a 2 c. measuring cup combine water, yeast and 2 Tbs. sugar, let sit until foamy
3. In a 4 c. measuring cup combine remaining sugar, shortening & milk.  Microwave 3-4 minutes until shortening is mostly melted.

4. Put 4 c. flour into your mixer.
5. Add your eggs, milk & yeast and knead for 1-2 minutes.

6. Cover & let sit until dough reaches 1" from the top of your bowl
7.  Add salt 3-3/12 c. more flour and knead 3-5 more minutes.  Then remove beaters and smooth dough around bowl.
8.  Cover and let rise to the top of the bowl again
9.  Pour all the dough onto a greased countertop.  I love working with this dough.  It is not sticky, but so pliable.
10. Roll dough so it's about 1/2" thick.
11.  Cut 3-3 1/2" circles out.  Fold in half and pinch edges together.  Place on greased baking sheets (about 12-15 per sheet depending on size)

12. Cover & let rise one more time about 30-45 minutes
13.  Remove towel, bake in oven at 350 for 14 minutes, turning at 7 minutes
You're done!  Pull them out and let them cool, or be like me and start eating right away!


Seriously, these rolls are divine! I prepped ahead for Thanksgiving, and now three out of my four bags are in the freezer so I don't scarf them all before the big feast!

I hope you love these rolls as much as I do, and find joy in making them, just as I do.  Make them with your family, make them with your friends.  Make time to make memories as you do so.  It's so worth it.

Happy Thanksgiving all!


Great-Grandma's Dinner Rolls:
.3 eggs
.1/2 c. warm water
.2 Tbs. yeast
.2 Tbs. sugar
.3/4 c. sugar
.2 c. milk
.1/2 c. butter flavored shortening
.7-7 1/2 c. flour
.2 tsp. salt

Directions:
1. In a small (1 c.) bowl/glass combine eggs & whisk until frothy, set aside.
2. In another small (2 c.) bowl/glass combine water, yeast & 2 Tbs. sugar, mix & let sit until foamy
3. In a medium (4 c.) bowl/glass combine 3/4 c. sugar, milk & shortening.  Microwave 3-4 minutes or until shortening is mostly melted.
4. In a mixer pour 4 c. flour.  Add eggs, yeast & milk.  Knead 1-2 minutes.
5. Cover & let rise until dough reaches 1" from the top.
6. Add salt & 3-3 1/2 c. more flour. Knead 3-5 minutes.  Cover & let rise again to top
7. Place dough on greased counter and roll to 1/2" thick
8. Cut 3-3 1/2" circles, fold in half, pinch edges and place on greased baking sheets (12-15 per sheet)
9. Cover & let rise one more time (preheat oven to 350)
10. Bake at 350 for 7 minutes.  Rotated and bake another 7 minutes.