Wednesday, December 3, 2014

Christmas Crafting...

I found this fabric early this summer and kind of fell in love.  I used it,..a lot.  First I made a lumbar pillow then had my mother-in-law make a throw for the bed...then I made burlap stockings with ticking for trim.  I made a lamp cover for my bedroom light, and I'm sure I've put it elsewhere in my home.


Well, being the Christmas season I wanted to make some Christmas covers for my pillows (my living room definitely has more of a summer, beachy feel.  Let's admit basically my whole house is going by that theme).  So, what did I do...I found the ticking fabric in RED


So, I made some easy pillow covers.  These are great because I can slip them on without having to unstitch anything, they are great!!  I didn't follow any tutorial or pattern, I just kind of figured it out by myself, but this is basically the same as what I did.  Seriously, SOOO easy (one piece of fabric, hems and two stitches and you're done!).  I probably did the two in less than 30 minutes!  


I threw those covers on my pillows and thought they looked good, but not finished, so I tied a red ribbon around them.  There.  Finished.

Now, for my lumbar pillow.  I was going to do grommets (like my original lumbar pillow), but didn't have enough.  So, I did a big stitch along the ends so I can uncover it easily.  Again, done with the sewing, but the pillow just wasn't finished.  I didn't have any more red ribbon...so I used what I loved almost as much as that ticker fabric.  TWINE!  Now, don't buy the expensive craft twine, head over to the hardware section of Walmart & get the twisted jute twine ...190 feet for less than $2.

Anyway, I tied some twine onto that pillow and voila, done.  


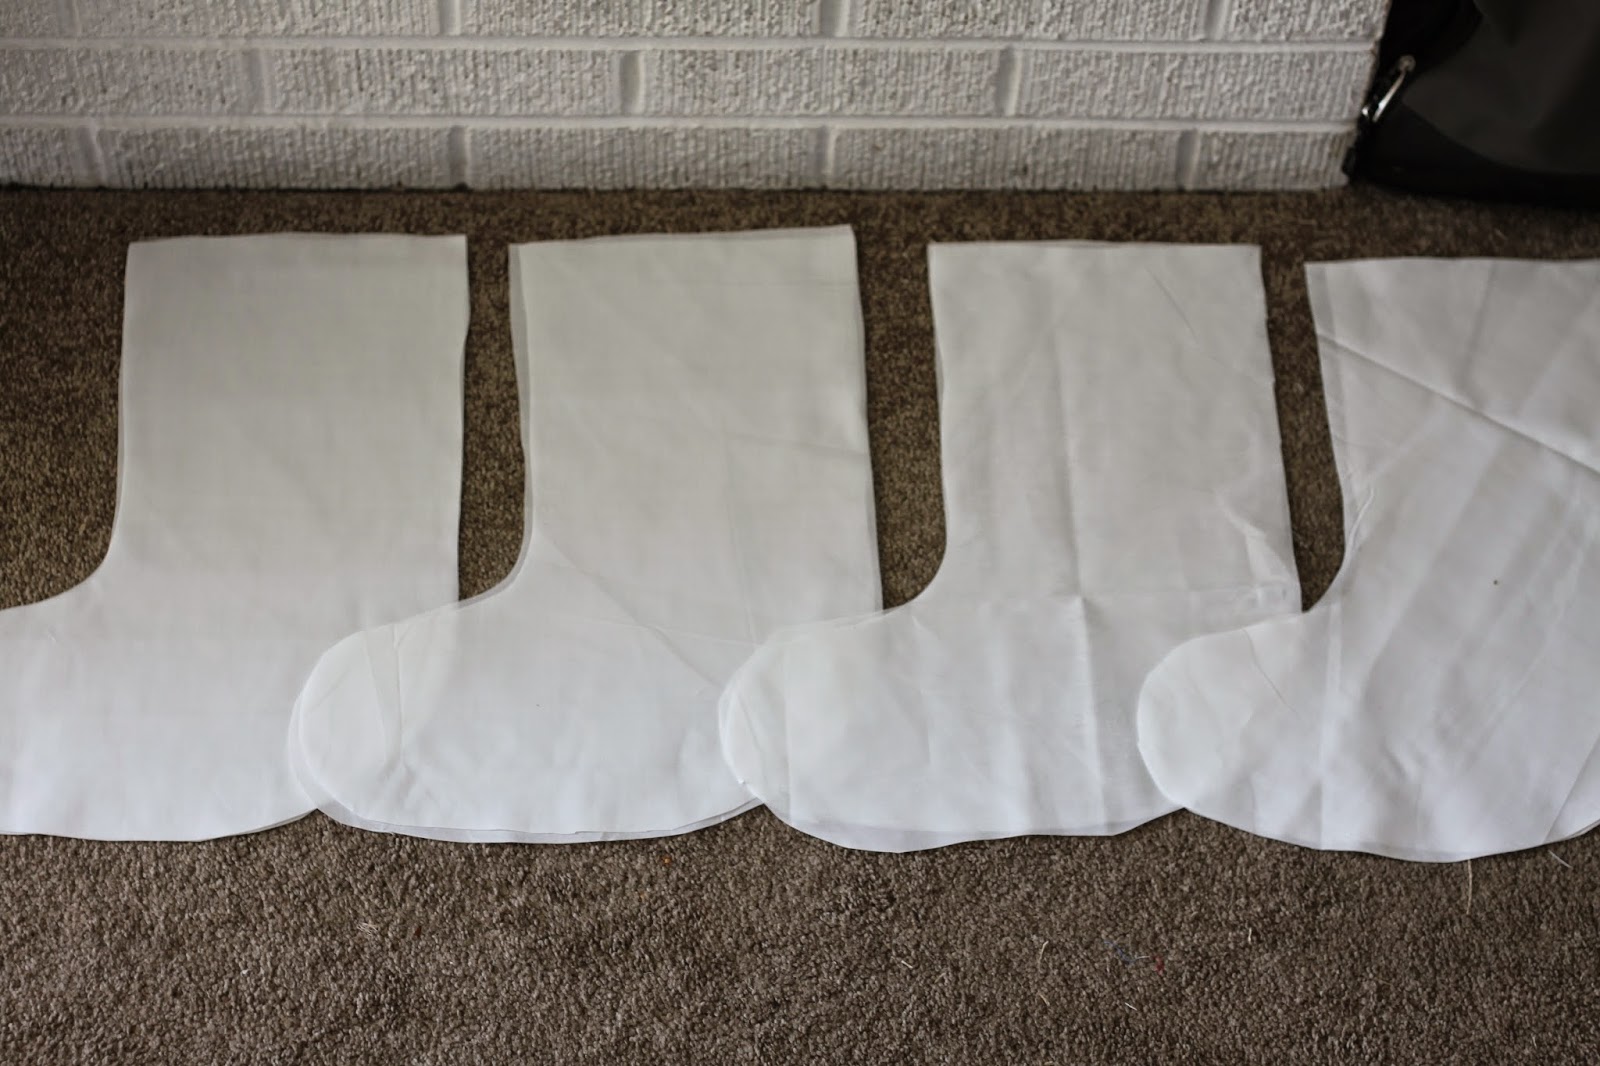
Now for the stockings.  I spend an bundle at Target trying to find the right stocking holders.  I don't have a mantle, I have a picture shelf from Ikea.  The downside is it has a lip, so no stocking holders fit.  I was racking my brain trying to figure out what to do when I remembered how the stockings were hung at my house growing up.  Eye hooks.  You can get them at any hardware store for pretty cheap.  Easy to put up & hardly noticeable.


I debated on how to individualize each stocking.  Do I sew a letter on each?  Add a letter hanging?  I decided to add the letter hanging would be easiest.  I bought the letter at Walmart for less that $2 each,  Originally I painted them silver, but it totally clashed!  So, I spray painted them white.  Much better.  I used my favorite twine to hang them originally, but when I had extra ticking fabric.  I totally had to use it.  I made these and absolutely love how they turned out.   I think the stockings are my favorite part! 


Next are presents.  I have always loved the simple brown paper & silver bags to wrap presents.  It's timeless, yet simple.  Once again, my fetish with twine took over and I added it to the presents.  I had this red metal star that had jingle bells on it.  They were coming off and I thought, "What the heck, let's add a little embellishment."  So each present got one [plus it masks the sound if anyone tries to go snooping].  I love how they turned out.  When I ran out of red, I just bought some small ones at JoAnn.  They were on clearance so I bought two packs.
The letters are just white vinyl.  I stole this idea from a friend, you can use vinyl, cardstock, regular paper, whatever to do this.  I cut them out on my Cricut, using the Classic Cricut Font.  Love how they turned out.

Now for a few more decorations. I had just a bit extra of the ticking fabric, so I added some here to pull in the lamp table.  I added the star to give it a little more festivity than just the monkey knots...


My rocking chair looked a little bare.  It needed some red ticking fabric too...


I still think this piece needs a little something, maybe some cute red or tan buttons in the corners or a red ribbon?  Not quite sure yet.


And with the little extra ...
Can't forget the door

And just for fun, the trees I spent HOURS on last year.  


And you have to have a place for all those Christmas books.  I am SO SO pleased with how this bookshelf turned out.  My husband built it the beginning of this year & I absolutely love it.  He is amazing!!!


 And the tree....you can't forget the tree, the child gazing and the train chugging around it.

Merry Christmas!  I hope you enjoy the season with your loved ones! 

Tuesday, November 4, 2014

Thanksgiving Banner

Time to put away Halloween & give Thanksgiving some time.

Really, I left my wood pumpkins & candy corn since they are fall decor.  I needed something more though...something simple yet decent.

A banner.  I wanted something faster & easier than burlap, so I thought I would just do card stock.  I rummaged through my scrapbook paper, but didn't have enough of anything but white.  I remembered I had a roll of kraft paper (the heavy brown wrapping paper that they use at the post office).

I used my Cricut to cut out the base shape & words (Cricut Essentials "label 1" and Opposites Attract "Opposite" for the letters).

The brown bases were all a little rounded from being on the roll.  At first I didn't think this would be great, but it turned out to actually be in my favor.

Glue, twine & clothes pins later....


So, there you have it.  I like how they ended up being a little rounded, it gives them a more 3D look * helped the "Count Your" stand up better

Materials:
twine
scissors
paper (card stock or your choice)
tape or glue
tape (for hanging)


Like I said, I used my Cricut machine, but you can easily create or find a template online & cut it out...same with the letters...it will just take a bit more time.

Total time: 1 hour
Total cost: FREE

Thursday, September 4, 2014

DIY Hanging "Boo" Wood Sign

Once again, I found this  & this somewhere online and thought I'd make my own.  I liked the classic lettering, but thought it would be fun to put a spooky spin on it instead.  I found a font (Bosshole) I liked and tweaked it a bit..then cut it out

Here it is.  Again, the twine is my thing right now so that's how I tied it all together.

DIY Burlap Stocking with Lining


I've wanted to make stockings for a couple years. Now that I'm in my permanent home & have the decor that I like I decided it's time to get going.  I decided burlap was the way to go.

I found a couple diy tutorials and started with those.  I used this site for the stocking template (I changed it just a bit).  I used this site & this site to help me figure out how to sew them.

I was having trouble, I'm not going to lie.  I wanted my lining to be sewn into the stocking, but I just couldn't figure it out until I found this site!  Totally saved me.  I even undid my not-so-great stockings and redid them so they (a) all matched and (b) were right.

Now for the DIY:

Again, find (or make) a pattern you like and cut out your stockings.  I bought 1 yard of burlap & muslin and got about 5 sets out of each.


Next I cut out my cuffs. I did 4" x about 8" (the width of my stocking top).  I sewed the cuff to the lining


 Then [I sewed the lining together & then the stocking together…save yourself some time] I placed the 2 linings on top of the two burlap pieces...
Make sure the cuff is out (right sides together).    


Make sure to overlap the burlap with the cuff about 1/4"as well

Sew around the edges, but not the top, only the sides (including cuff) & bottom

Should look something like this when you're done

cut around the corners/rounded areas to allow movement


cut extra material off to reduce bulkiness when turned
Now the fun part...

This is what it should look like...you're going to turn it right sides out...from the lining so the lining will be o

Alright, now that the lining is on the outside (looks like a nice white stocking), pull from the inside again, this time between the burlap

This is what it should look like if you did it right, the cuff is inside out, but the burlap is right sides out:)


Now stitch along the top of the stocking, leaving the cuff still out

Hem the end of the cuff

Now the cuff & the top of the stocking are stitched, it's time to fold the cuff over
Ta da...

Almost done...now for the loop..


See how the lining is clean (right sides out) and so is the stocking


Sadly, this is what took me so long to figure out....until I found that tutorial.  I had three stockings that were not right...had to un-stitch them all :/

Now for the hanging loop.  I've kind of been obsessed with grommets & twine (and this fabric if you've read previous posts).


Found the back of the stocking where I wanted to put the grommet

Using this tool (found online or at local craft store), use the small part against the metal punch

Place it on the designated spot & push

...hard.  You should hear/feel it go through the fabric

It should leave a little hole going all the way through.  Use scissors if you need to
Grommets...two different pieces, the flat piece and the ... other piece

Place piece with the lip on the front (or outside) of the hole

push it through...

so it comes out the inside of the stocking and the edges are completely exposed

Place the flat piece on the inside, over the lip

Push & twist the white plastic piece so the larger end is over the metal piece

Place the metal part over the lip of the grommet, making sure it's as flat & even as possible

Press until you've heard it and it should look like this
Add some twine & there you go

Now you can see the grommet & the clean seams of the interior lining

Look from the back
Love the look

Love the grommet look

Simple stockings


 There you have it.  Hopefully that helps a bit with your Christmas stockings diy.  I still have to individualize them, but I still have a couple months...right??


The burlap & muslin I got at JoAnn's for about $4 a yard.  I bought 1/2 yard of the cuff at $6.29 a yard.  Already had the twine & grommets.