Showing posts with label FREE. Show all posts

Saturday, February 11, 2017

Holiday Hearts

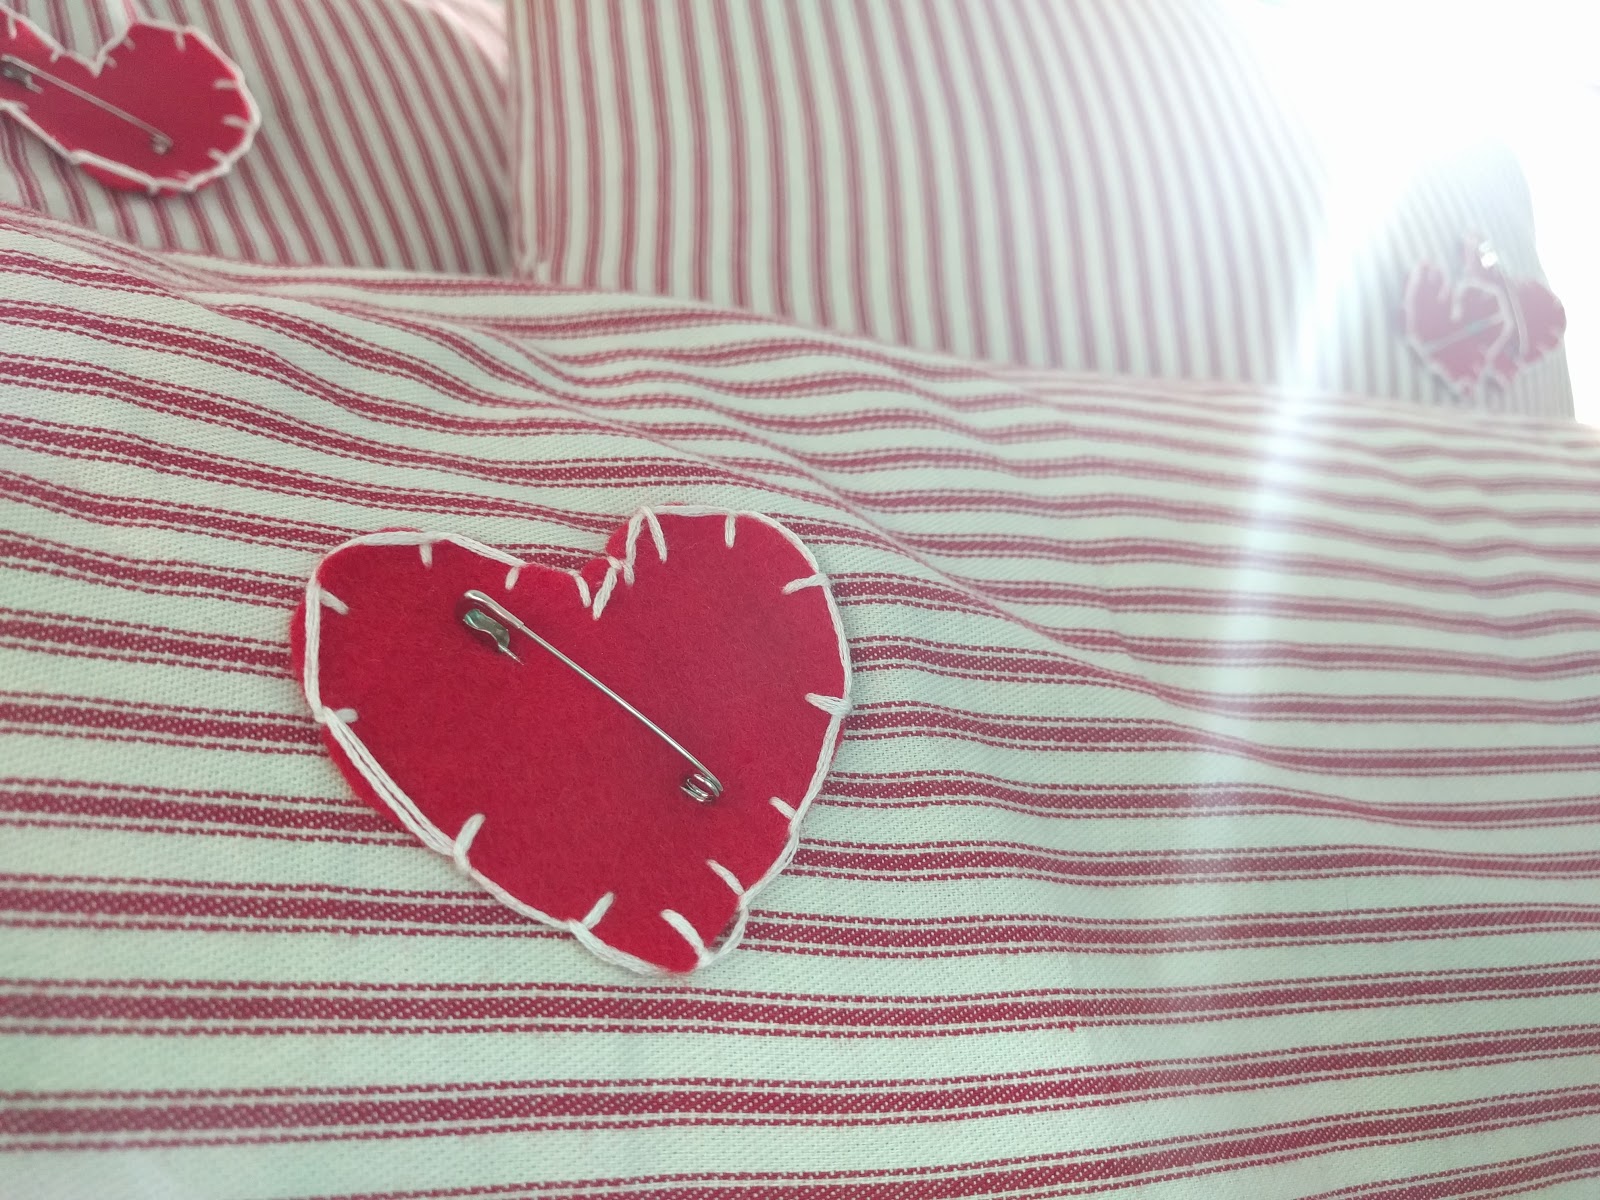
I have these pillow shams I made for Christmas time, but I also use them for Valentine's (or any holiday that has red).


I decided I wanted them to be different for various holidays, but didn't want to do anything too drastic, difficult or time consuming.


So I got out some felt and made these cute hearts.


Super Simple.  

Items Needed:
Felt
Scissors
Needle
Embroidery Thread/Floss
Safety Pins

1. Cut out your hearts to whatever size you'd like.

2. Grab your embroidery floss, cut it (mine were about 2-3') and divide it into 2 sections (3 strands per section).

3. Thread your needle

4.Start on the back and bring the thread from back to front:
5. Now take the thread and go front to back, pulling almost all the way through


 6.  Now take the needle and place it through the loop, gently tugging until it's tight, but not pulling on the heart
7.  Now take the thread front to back again, evenly spacing them apart


8.  Repeat until you've done the entire heart


9.  Tie off ends on the back and cut excess thread.

10.  Safety pin them wherever you'd like on your pillows


Simple, easy and temporary.  And now I'm thinking I can really add anything to these shams to simply change them for the holidays throughout the year!

Happy Crafting!

Total Cost: Free (I had all supplies on hand0
Total Time: 30 minutes


Tuesday, November 4, 2014

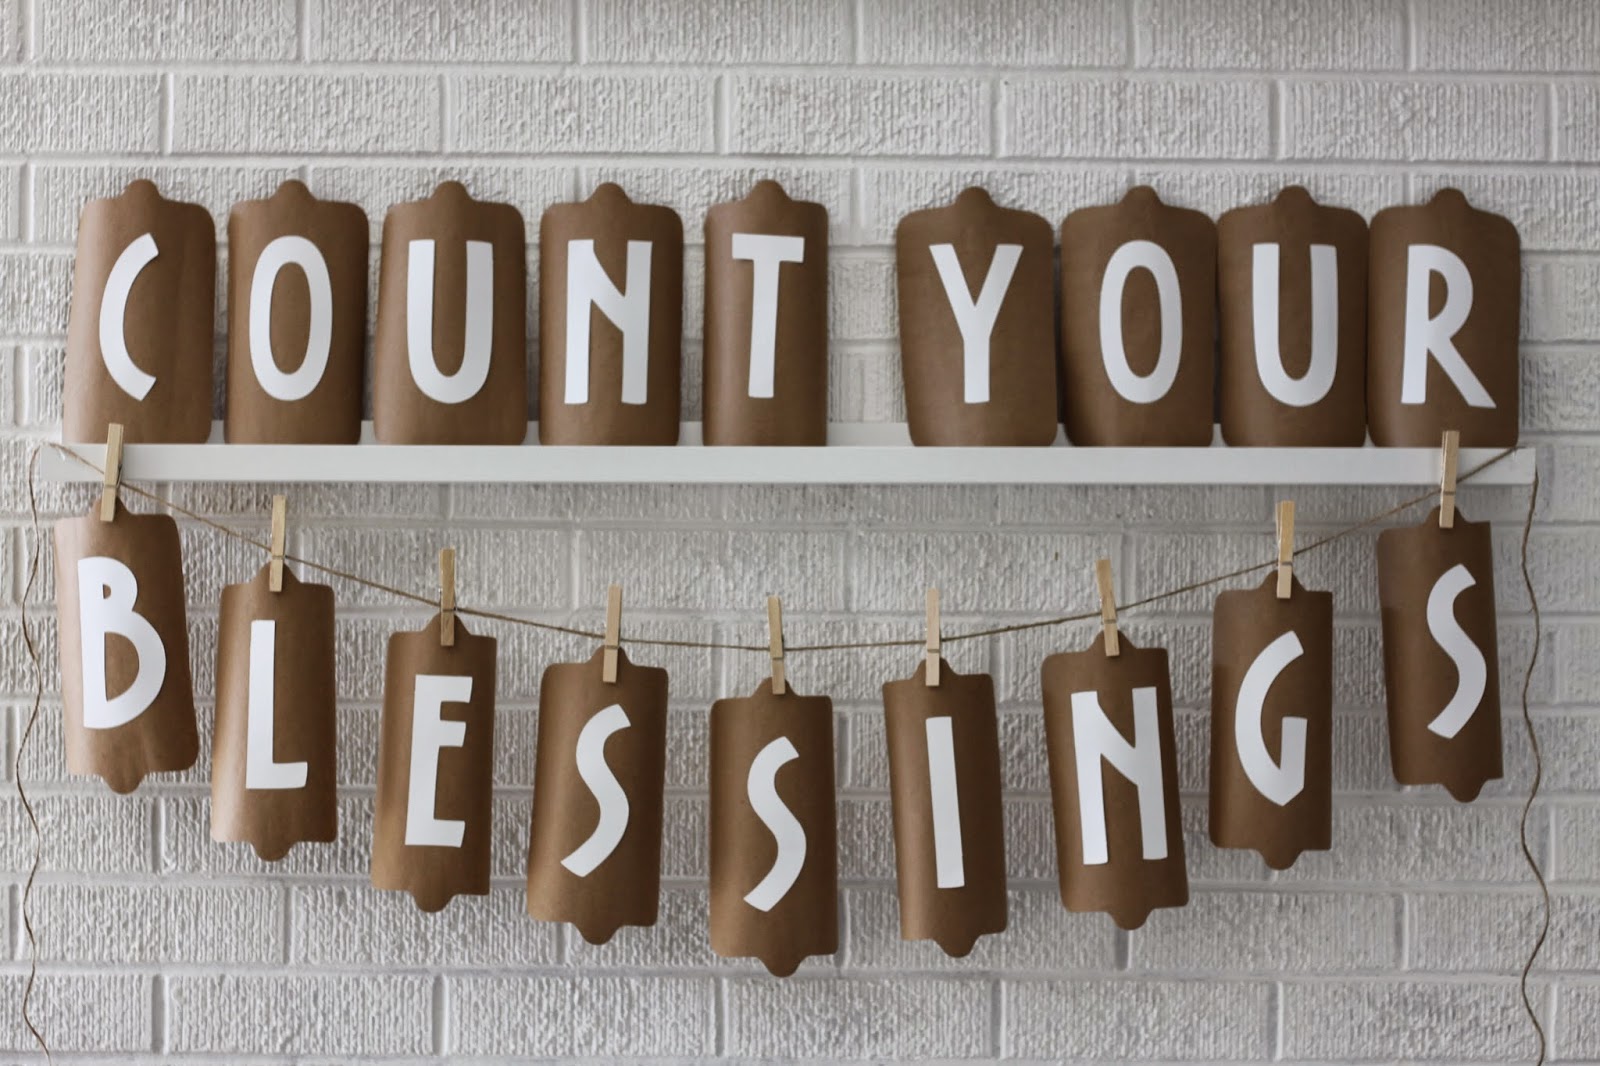
Thanksgiving Banner

Time to put away Halloween & give Thanksgiving some time.

Really, I left my wood pumpkins & candy corn since they are fall decor.  I needed something more though...something simple yet decent.

A banner.  I wanted something faster & easier than burlap, so I thought I would just do card stock.  I rummaged through my scrapbook paper, but didn't have enough of anything but white.  I remembered I had a roll of kraft paper (the heavy brown wrapping paper that they use at the post office).

I used my Cricut to cut out the base shape & words (Cricut Essentials "label 1" and Opposites Attract "Opposite" for the letters).

The brown bases were all a little rounded from being on the roll.  At first I didn't think this would be great, but it turned out to actually be in my favor.

Glue, twine & clothes pins later....


So, there you have it.  I like how they ended up being a little rounded, it gives them a more 3D look * helped the "Count Your" stand up better

Materials:
twine
scissors
paper (card stock or your choice)
tape or glue
tape (for hanging)


Like I said, I used my Cricut machine, but you can easily create or find a template online & cut it out...same with the letters...it will just take a bit more time.

Total time: 1 hour
Total cost: FREE

Thursday, August 28, 2014

10 Step Wood Pumpkins

I know, I know.  I just barely posted about my back to school shelf & now I'm already onto Halloween...

Well, I figured I'd get them out of the way so they'd be ready.  They aren't going on the shelf until October, so don't worry about that.

Anyway.  I have extra wood.  I have extra time.  I like to use both.  I pinned this probably a year ago or so, but finally got around to making my own version.


The pumpkin idea is super cute...and super easy.  Just a 2x4, some paint & a few other things.

Materials:
2x4 scraps
1x1 scraps (for stem)
Hanger (for vine), optional
Craft pliers (the purple & blue) for my project.
Paint, orange, brown & green
Wood of Tacky Glue
Sander & sand paper
Paint brush
Drill & 5/64" drill bit, optional
Hack Saw
Shellac/Sealer

Step 1:
Cut your boards to the size you want.
Mine are 3.25, 4 & 8 inches tall.  Don't forget to cut your stems too.  I did various sizes of what I thought would look good (about 1x1.5x3/4" for the two tall ones, a bit shorter for the small pumpkin)

Step 2:
Sand them down.
I tried to round my edges a bit to get more effect, but do what you like.

Step 3:
Paint your wood.  I used a regular orange craft paint for the pumpkins.
For the stems I combined white & coffee bean to make a brown I liked.

Step 4:
While those are drying, cut and twist the hanger to make the vines.
It wasn't hard, just took a bit of time.  There was a coating on my hanger that kind of peeled off as I was doing this, which was fine, it doesn't matter.

Step 5:
Paint the vines.
I actually used spray paint for these, way easier than trying to hand paint them.

Step 6:
When the boards are dry [if you want a weathered look, sand the edges], take the hacksaw and saw lines down the middle of the pumpkins.  [I actually did this BEFORE I painted...wrong.  Do it after to get the lighter effect that looks better].

Step 7:
Shellac everything & let dry.  I used a sating polyurethane I already had, but you could use mod podge or whatever you have on hand.

Step 8:
Drill holes for the vines to go in (or just hammer them in if your wood is soft enough).
On one end of all my vines, I left about a 1/4-1/2" straight piece that could go into the wood.


Step 9:
Glue stems to pumpkins, let dry


Step 10:
None, you're done!


See, easy & 10 steps..okay, really nine.  It took me about an hour or so to do this & it was FREE since I had all the materials.

Happy Halloween (or Thanksgiving, whatever you use these for)


Tuesday, March 12, 2013

Kleenex Box Cover

My husband remodeled our bathroom this past summer (bless his heart, I was 7 months pregnant so each night after working, he would replace the toilet for me).  Anyway, I've tried to somewhat decorate the bathroom, but I never could find that right Kleenex box cover.  I bought the cute ones that you can try and match, but after it ran out...the problem was back.

So, I decided to make my own.  It wasn't too difficult, but I did have to pick some seams and try again.
End result
Here is what I ended up doing...

I used an empty milk box from Costco...I cut the bottom into 4 pieces that would be the sides of my box...
Yay!  The hole was already cut for me, I just centered it and cut to make the top piece
Once I had my four sides and top, I placed them around an actual Kleenex box and taped them together
Then I taped the top on...and covered the whole thing with tape.  I then cut the tape over the hole and pushed it in, so the sides of the hole were smooth


 Okay, here's where the pictures stopped.  I was going to just mod-podge some cute paper on, but then I decided I wanted a little sturdier box, so I grabbed some scrap material I had lying around.  I measured the top of my box and added about 1/2", then I measured all four sides of the box and added a couple inches to the width, then added an inch to the height.

I hemmed the bottom edge of the piece that would go around the sides.  Then, I cut a hole in the top piece, folded the edges over and sewed a border.

Then, I took that top piece and placed it on the piece for the sides.  I sewed along one edge, and when I got to the corner, I left the needle down, turned the TOP piece to have its edge match the edge of the side piece (make any sense?), then I continued sewing.

When I got all the way around, I had just enough fabric left over to sew the sides together.

Mine ended up being just a tad short, so I found another piece of material lying around that matched and tied it around the bottom...I think it gives it just a bit more character.


Here is the end result.


It's not perfect, but for a rookie and not reading any tutorial, I think it turned out quite nice.  And now I have a nice cover, so no matter what the Kleenex box looks like, I can always cover it up.

Total time: 2 hours (would've taken a lot less time had I known what I was doing).
Cost: Free


Sunday, November 21, 2010

What do you do when church is cancelled...

SEW!!!
I was on a roll today!  Here are the projects I got done:

small & simple pillows out of some extra fabric

same pillows, reverse sides

rice bag...a friend had some great smelling essential oils and my mom-in-law had the rice
So stoked to use this!

the lap quilt that I've been meaning to work on since my birthday!
So, there you have it!  I'm so excited that I have those two cute little pillows and that rice bag.  I've now got to find a border and back for my quilt.  It really didn't take me all that long - surprisingly! 

Total Cost: FREE (my grandma bought me all the fabric for my bday)
Total Time: a few hours (to do everything, probably 4 hours)

Wednesday, October 27, 2010

Halloween Candy Jar

I saw this on makeit-loveit.com and I thought it was a good idea.  I don't have kids so I couldn't use baby food bottles, but I have been saving old spaghetti sauce bottles.  It worked out just fine.  Instead of using fabric (I'm lacking in that department majorly), I found a cute clip art of a pumpkin online and printed that off.  I did one for the lid and one for the bottle.  Then, I found a raffia ribbon and mod-podged that to the side of the lid (so you can't see the ugly gold color)...


What do you think?  It was super simple and now I have a little Halloween or Thanksgiving treat in my front room:)

Total Cost: FREE:)
Total Time: 30 minutes