Showing posts with label quick crafts. Show all posts

Wednesday, February 12, 2020

Two Free Valentine's Day Printables

My oldest is currently obsessed with fish.  He loves to fish and loves his pet fish.  So naturally, for Valentine's Day he wanted to do something with fish.  

There's tons of fish sayings out there, "you're o-fish-ally the best" "you're a great catch" ... I could go on.  But I saw this saying and really liked it "Glad we're in the same school."
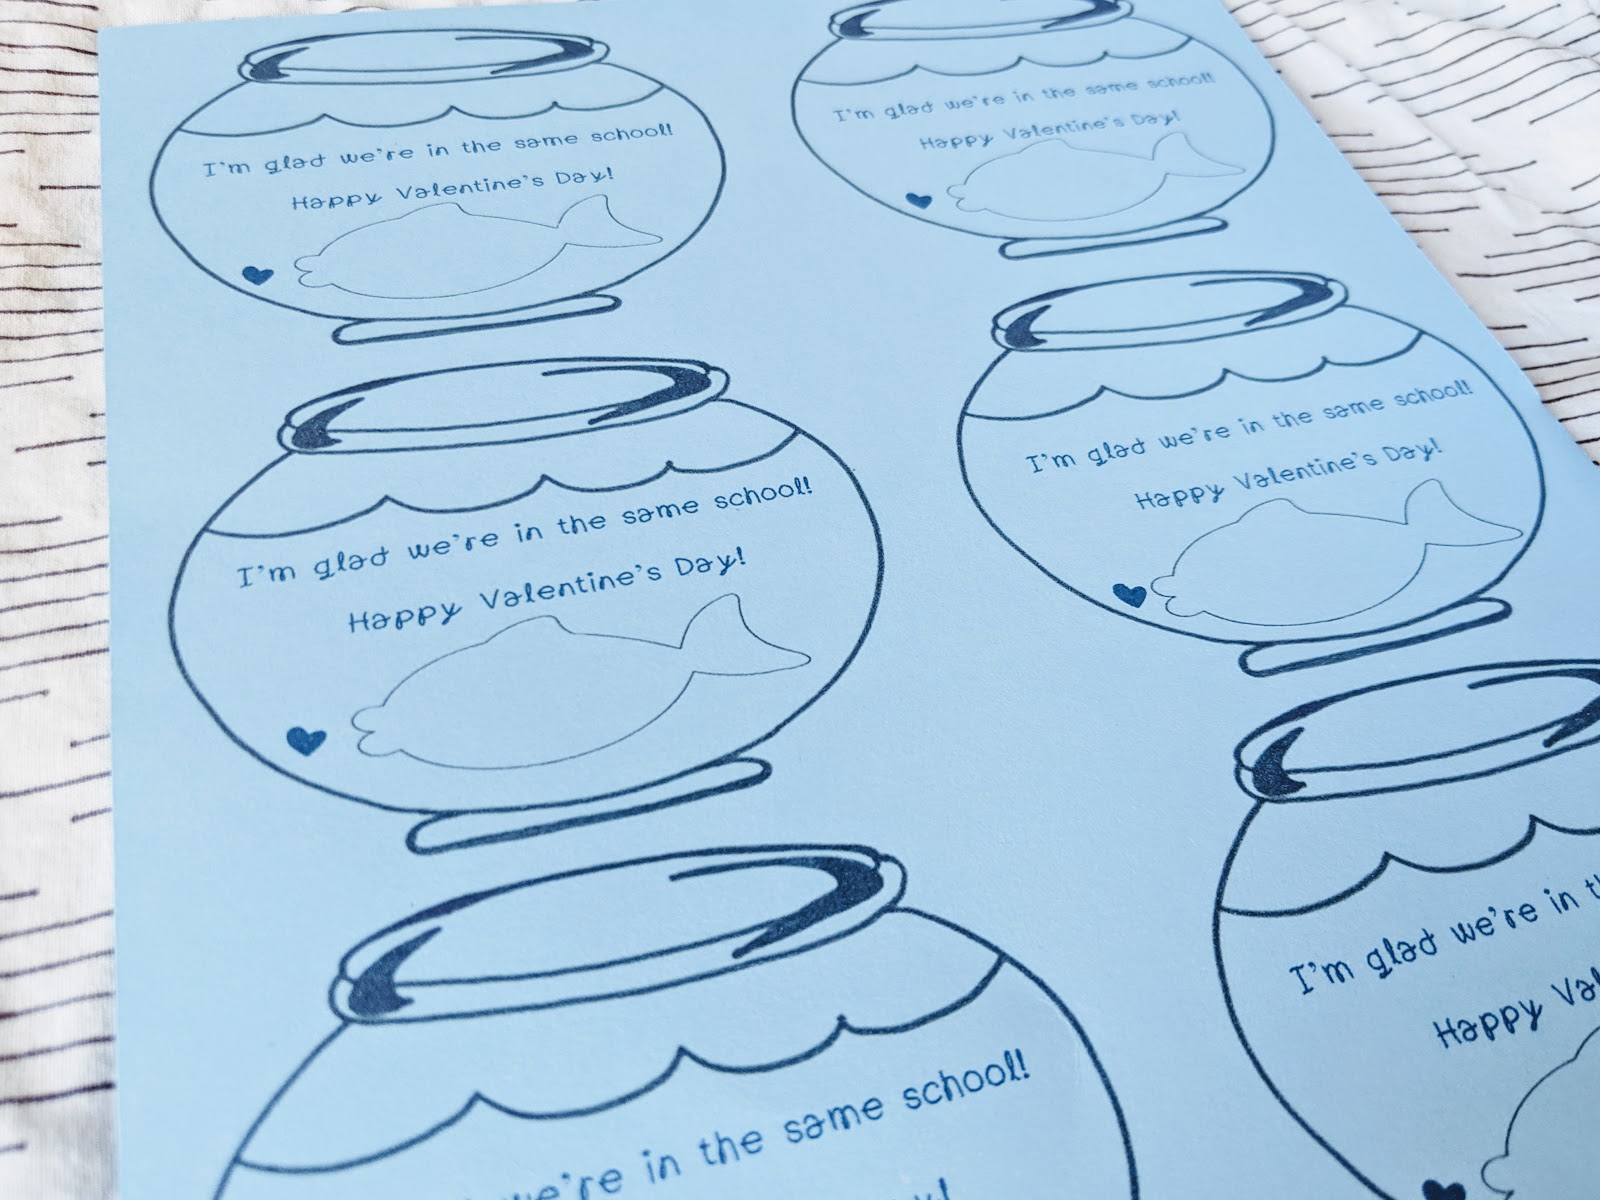

I found a little fishbowl online and dragged it over to edit.  I added the saying and a cute little fish.  Then a heart right in front of those big fishy lips.  My son wrote each student's name in the top of the fishbowl and then wrote his name in the actual fish!


We grabbed the sandwich baggies from Wal-Mart and a big bag of Swedish Fish (you could do individual bags of Swedish Fish, I just couldn't find them locally) and plopped them in with the card.
I love how they turned out.  He loves them too.  So I thought I'd share them with you. 
Click here to get the printable.  I bought some blue card stock in a pack and chose the lightest one to print on.   You could print on white and have your child color them or leave them white or whatever you want.


And if you didn't see these I did a couple years ago, here's another quick and pretty cheap Valentine idea.  And this one is sugar free!  At the beginning of every school year I stock up on wooden rulers (I usually have them on display for August & September) and then use them for Valentines that year.
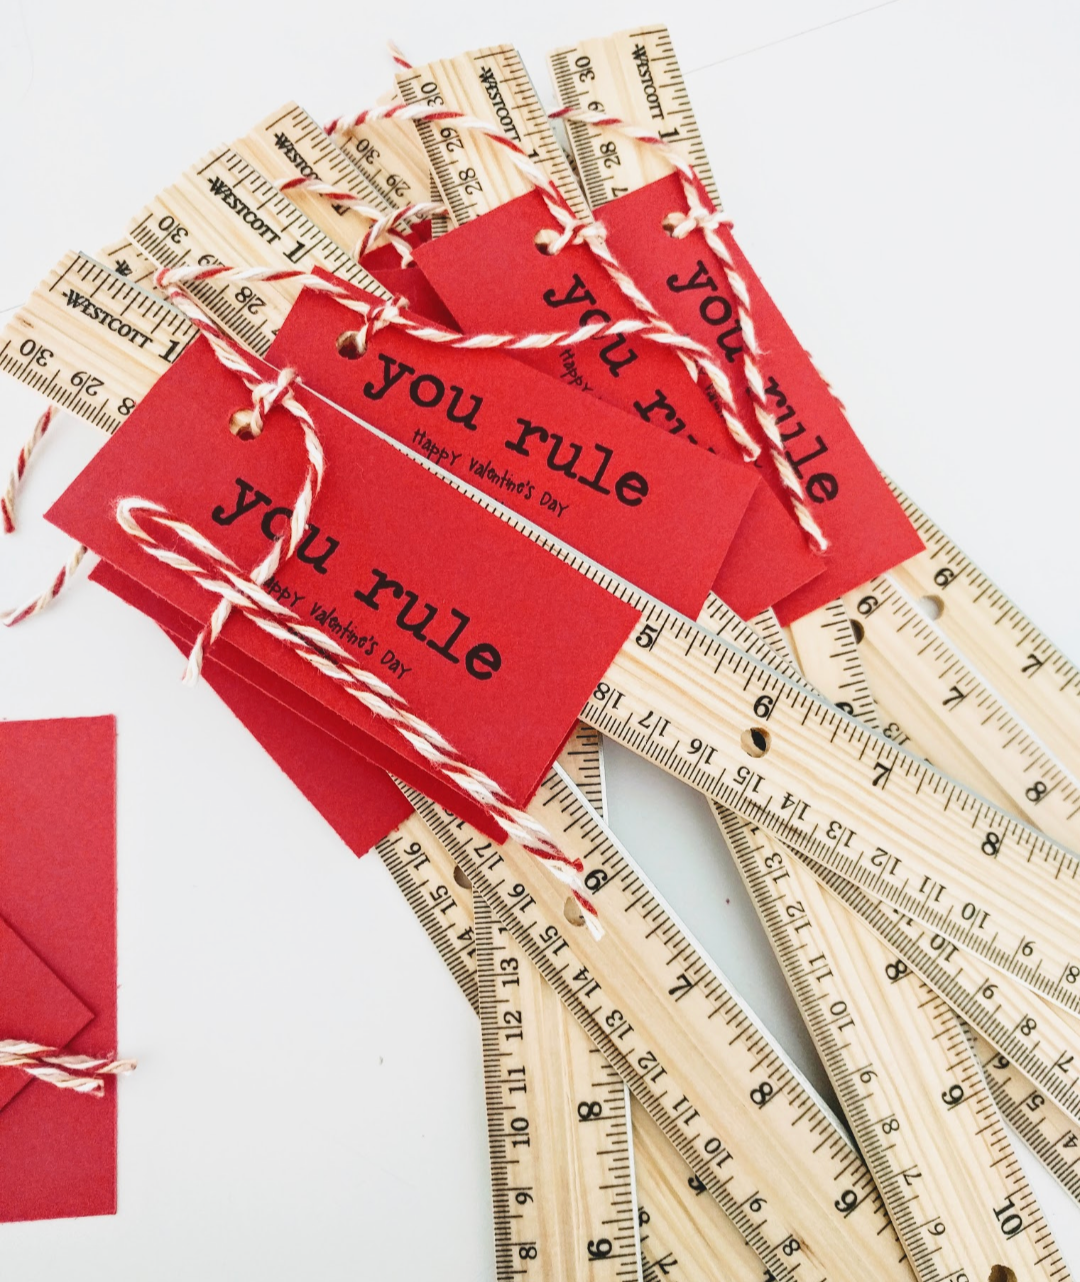
These were the first ones I did, I just printed "You Rule" on some red card stock)


Here is are a couple printables for ya. One is black and one is red.  They are super easy and fun.  And I like that they are not a sweet treat, but a fun tool kids can use for practically anything!


Well, I hope you have a wonderful Valentine's Day.  Know you are loved and appreciated and special!

Jenn:)


Monday, November 20, 2017

Easy Envelope Pillow Shams


I made a couple of these shams a few years ago, but have since bought another pillow...thus I needed to make another sham.  I searched my old posts to see where my tutorial was...low and behold I never made one.  So I decided to now.  I've seen a few online, but I don't like to cut or sew more than necessary and all the tutorials I saw started with three pieces.  Mine starts with one.

My pillows are 20" x 20" so I cut my fabric 21" x 50" 21" (one side) + 21" (the other side) + 8" (fold over portion)


After this I created a 1/2" hem by folding it twice over on both of the long sides

Then I sewed all the way down these on both sides

Once I did this, I made that same hem on the short ends & sewed them down


Alright, now I had a piece of fabric that was long and all hemmed.  Then I folded it in half (hotdog)

Now I unfolded one side up 10" (to 30")

Then I folded the other end down 10" (to 10")


So now I had my sham the size it needed to be with the fold over fabric centered on the back.
I don't use pins very often when I sew, but I did pin the points of intersection for two reasons.   One-so I knew where they were to keep it even on both sides and Two-so I could make sure to sew carefully over them as they were much thicker than the rest.  

Next I sewed just down those two edges of the hemmed portion, not along the folded edges.

Now, you can flip it and be done, or you can add one extra embellishment, which is what I did.  I flipped the whole thing (right sides out), ironed it and then did a quick little 1/4" hem around the entire thing.  

Now you can put your pillow in and add ribbon or leave them plain.


I added some wired ribbon I found at Jo-Ann.  I really love how they turned out.  I'm kind of obsessed with the ticking fabric (if you haven't seen my Stocking tutorial, I used the tan ticking).


I'm kinda loving how they turned out.  I love the simplicity of the ticking, but added the red ribbon for just a little more color and accent.  I love that they bring just enough red against the Christmas tree.  I love that I can use them for other holidays throughout the year.  And, I love that I got to make them.

Total Time: 1 hour
Total Cost: $23
Fabric: (2 yards with coupon, even though I have tons of extra) $15
Ribbon: $8 (didn't have a coupon)


Wednesday, March 1, 2017

Kid Calendar

I decided I sit at home and do nothing too much.  My kids are affected by it.  They get bored, they get frustrated and they don't get to let their energy out.  So, I came up with a plan that helps me stay organized and allows the kids to choose the activities.  It helps us both feel in control and gets us out.


Kid Calendar:
.Calendar (check Utah Idaho Supply or Lakeshore Learning or make your own from)
.Clip Art of various activities
.Self-Stick Velcro circles

..

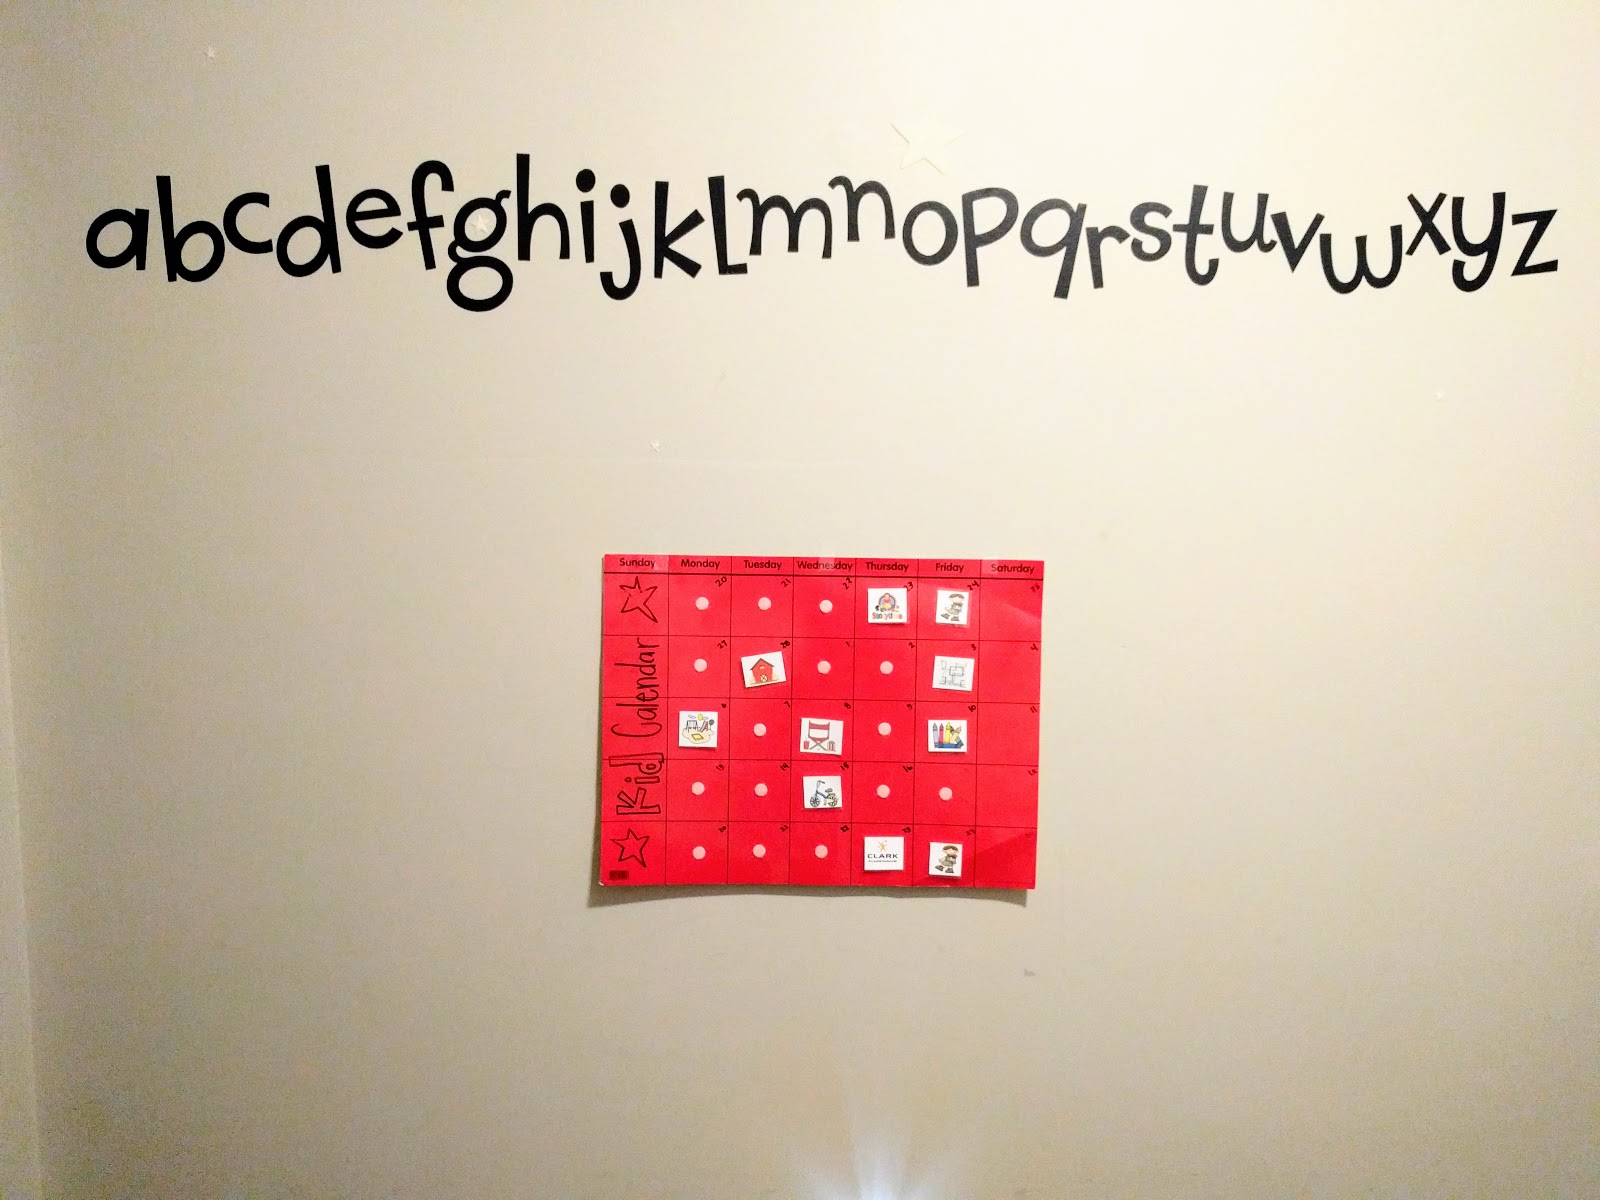
1. Decide on what activities you're willing to do and what you think your kids will like.  For activities that are free or really easy (library, story time, bike ride, baking, etc.) I printed off several.


[I put mine in a word document and printed them]
2. After printing them off, cut them out "laminate" them with packing tape  (This is my go-to way of making things reusable without paying lots of money to actually laminate them).

3. Next, grab your Velcro circles and start placing.


[Stick, stick, stick]
4.  Now put the other Velcro side on the calendar.  I chose to do Monday-Friday as Sunday is our day of worship and Saturday we are usually cleaning or doing house chores.


5. I put all my activities in a jar.  My calendar has 5 weeks on it so I let me kiddo pick 10 out of the jar (2 per week).

[I also took a dry erase marker to the calendar (it's actually laminated) and wrote the dates on it]
 Once he had all his choices, I let him choose what days to put them on.  Some (like story time) had to be on certain days since they're not offered every day of the week so we put those on the first and then filled in the blanks.

[apparently he likes doing things on Friday:)]

Now we've hung it in his room where he can see it every day and remind me what activities we have planned.

This has really helped me as I'm a planner and like to be prepared, and it gets him excited for our outing or activity.  He looks forward to them and I am too.  Today we hit up Wheeler Farm.  It was muddy and snowy, but we still had a good time!

Hope this helps you if you feel in a rut with your kids and activities...or just need a little nudge to get out there and do something:)

Happy (kid) Crafting:)

Total Time: 20 minutes
Total Cost: $7 (I already had the calendar)

Saturday, February 11, 2017

Holiday Hearts

I have these pillow shams I made for Christmas time, but I also use them for Valentine's (or any holiday that has red).


I decided I wanted them to be different for various holidays, but didn't want to do anything too drastic, difficult or time consuming.


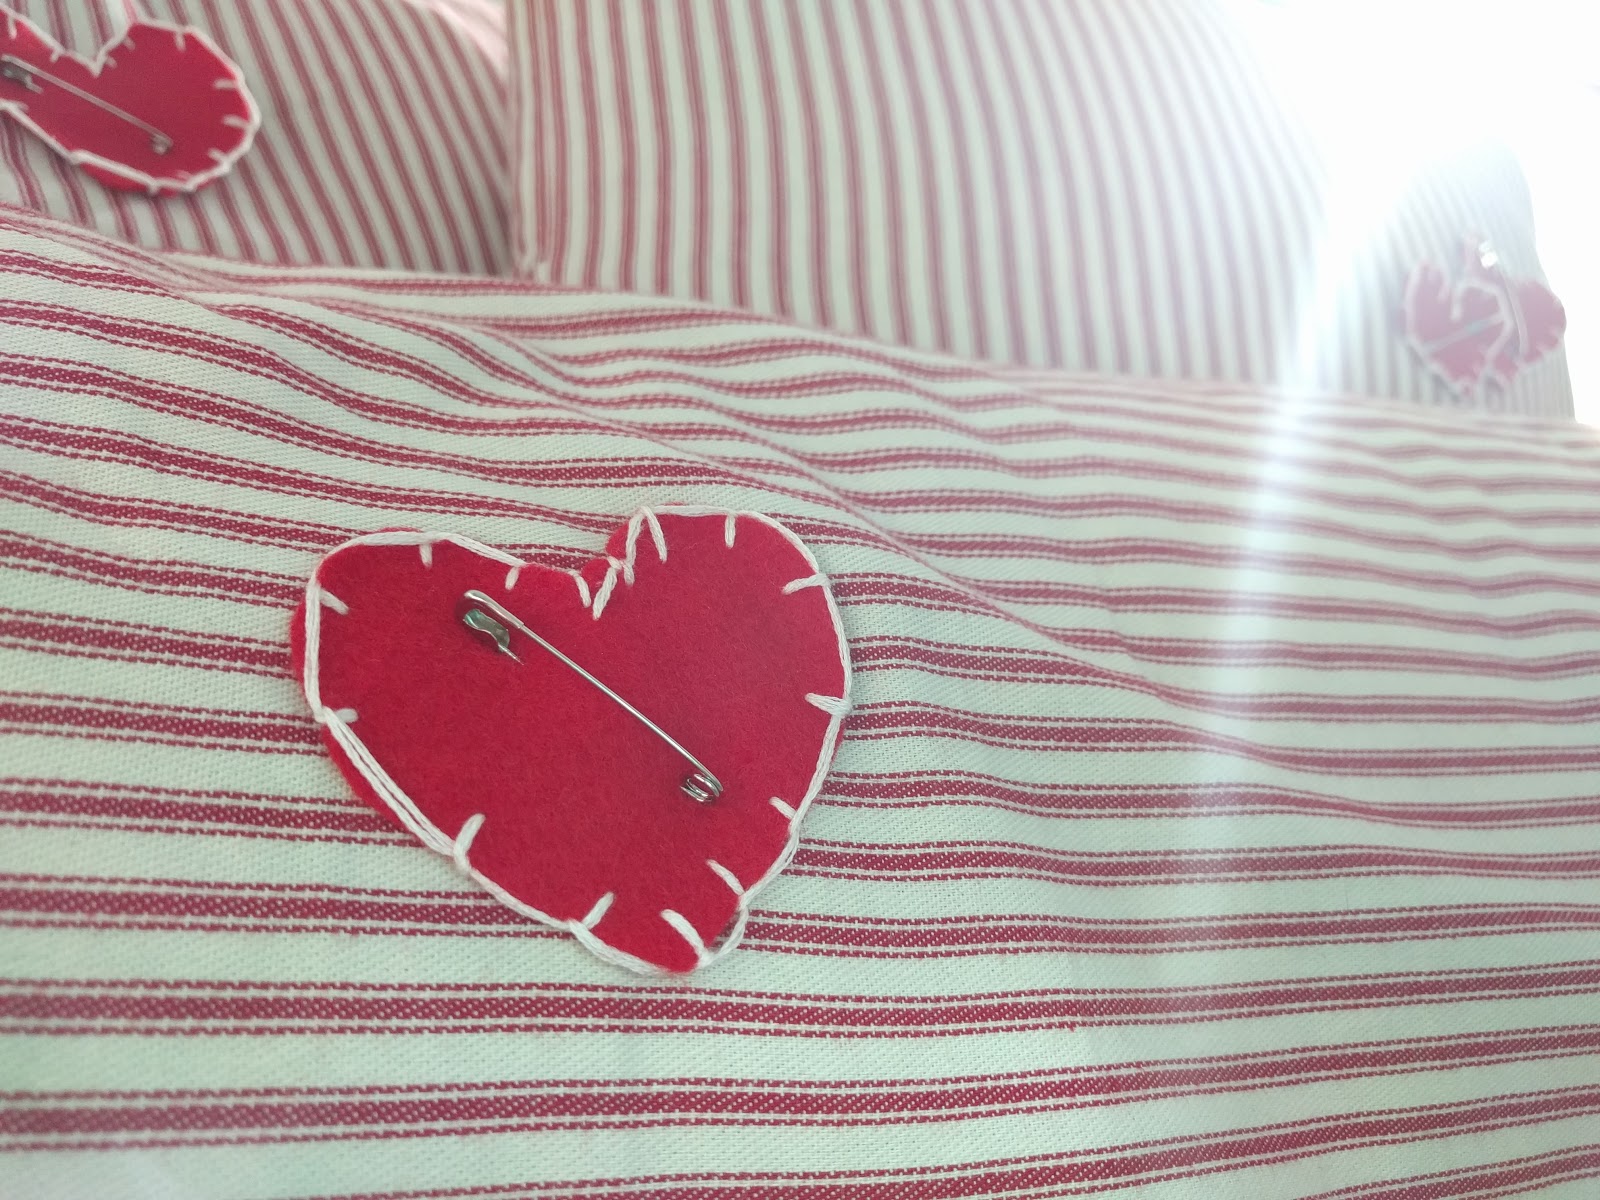
So I got out some felt and made these cute hearts.


Super Simple.  

Items Needed:
Felt
Scissors
Needle
Embroidery Thread/Floss
Safety Pins

1. Cut out your hearts to whatever size you'd like.

2. Grab your embroidery floss, cut it (mine were about 2-3') and divide it into 2 sections (3 strands per section).

3. Thread your needle

4.Start on the back and bring the thread from back to front:
5. Now take the thread and go front to back, pulling almost all the way through


 6.  Now take the needle and place it through the loop, gently tugging until it's tight, but not pulling on the heart
7.  Now take the thread front to back again, evenly spacing them apart


8.  Repeat until you've done the entire heart


9.  Tie off ends on the back and cut excess thread.

10.  Safety pin them wherever you'd like on your pillows


Simple, easy and temporary.  And now I'm thinking I can really add anything to these shams to simply change them for the holidays throughout the year!

Happy Crafting!

Total Cost: Free (I had all supplies on hand0
Total Time: 30 minutes