Showing posts with label under $5. Show all posts

Wednesday, February 12, 2020

Two Free Valentine's Day Printables

My oldest is currently obsessed with fish.  He loves to fish and loves his pet fish.  So naturally, for Valentine's Day he wanted to do something with fish.  

There's tons of fish sayings out there, "you're o-fish-ally the best" "you're a great catch" ... I could go on.  But I saw this saying and really liked it "Glad we're in the same school."
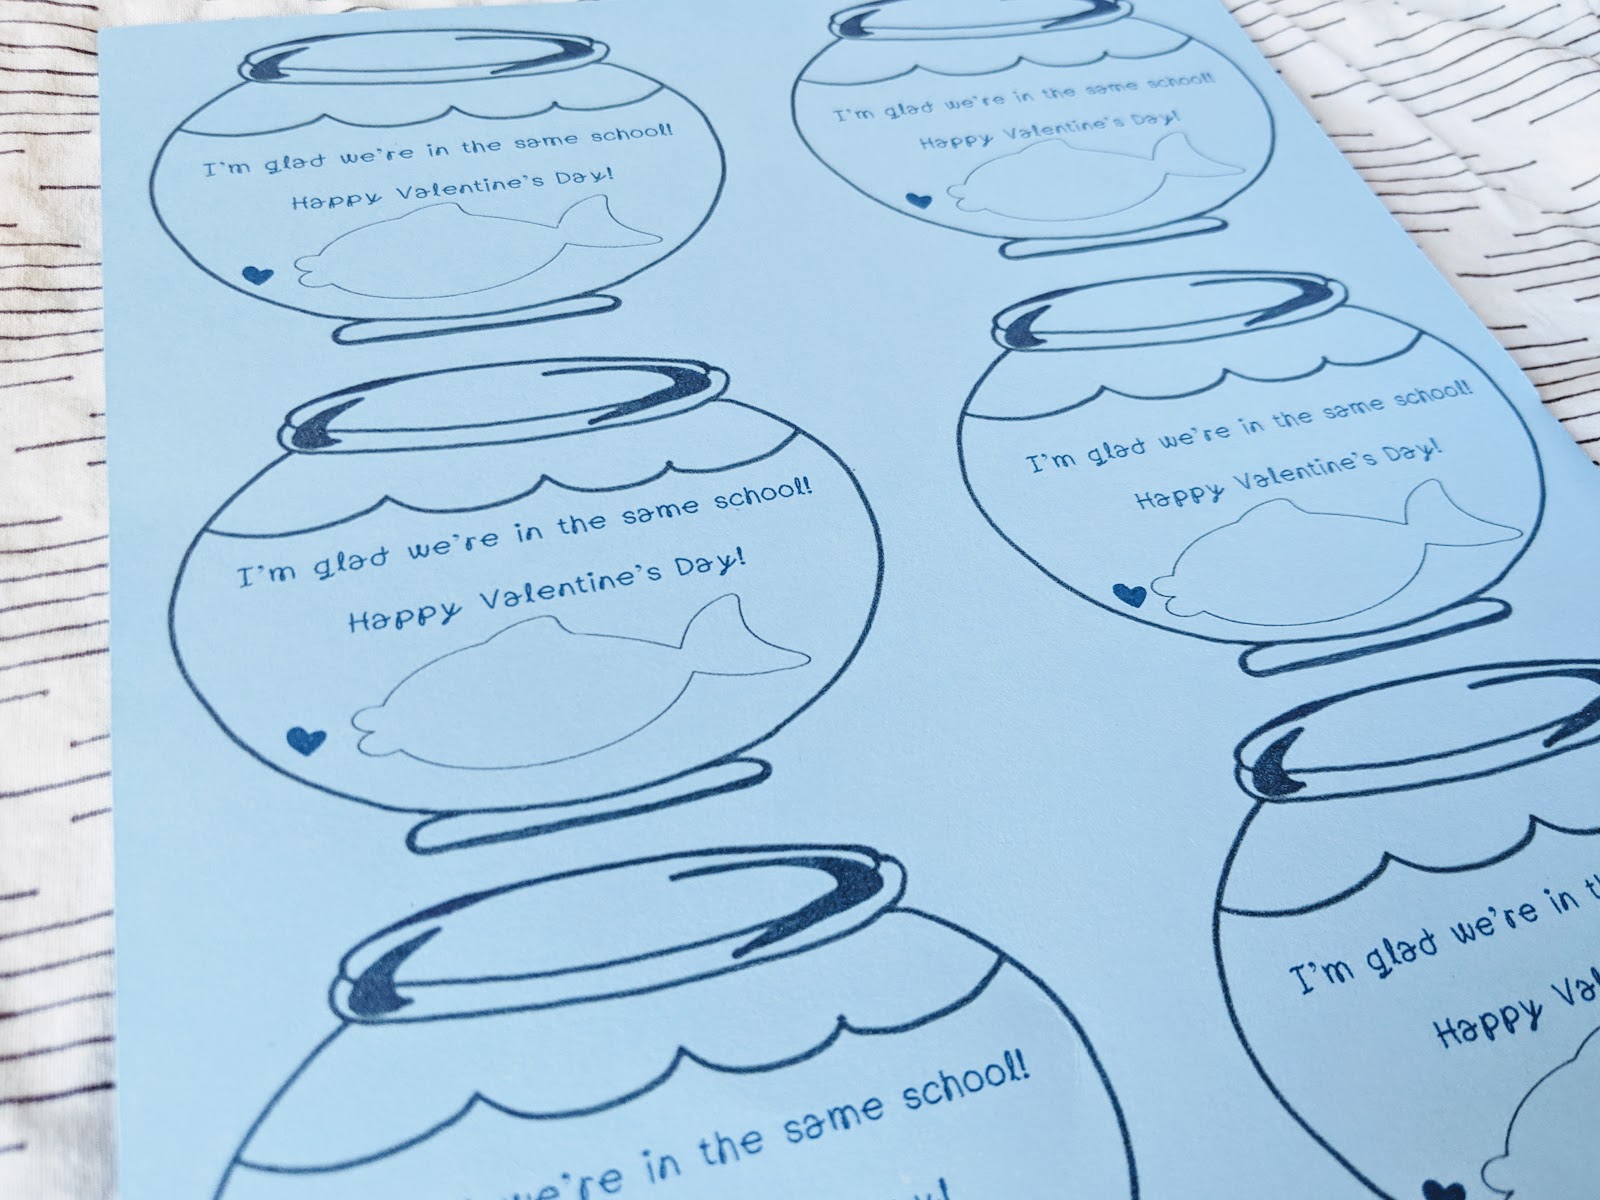

I found a little fishbowl online and dragged it over to edit.  I added the saying and a cute little fish.  Then a heart right in front of those big fishy lips.  My son wrote each student's name in the top of the fishbowl and then wrote his name in the actual fish!


We grabbed the sandwich baggies from Wal-Mart and a big bag of Swedish Fish (you could do individual bags of Swedish Fish, I just couldn't find them locally) and plopped them in with the card.
I love how they turned out.  He loves them too.  So I thought I'd share them with you. 
Click here to get the printable.  I bought some blue card stock in a pack and chose the lightest one to print on.   You could print on white and have your child color them or leave them white or whatever you want.


And if you didn't see these I did a couple years ago, here's another quick and pretty cheap Valentine idea.  And this one is sugar free!  At the beginning of every school year I stock up on wooden rulers (I usually have them on display for August & September) and then use them for Valentines that year.
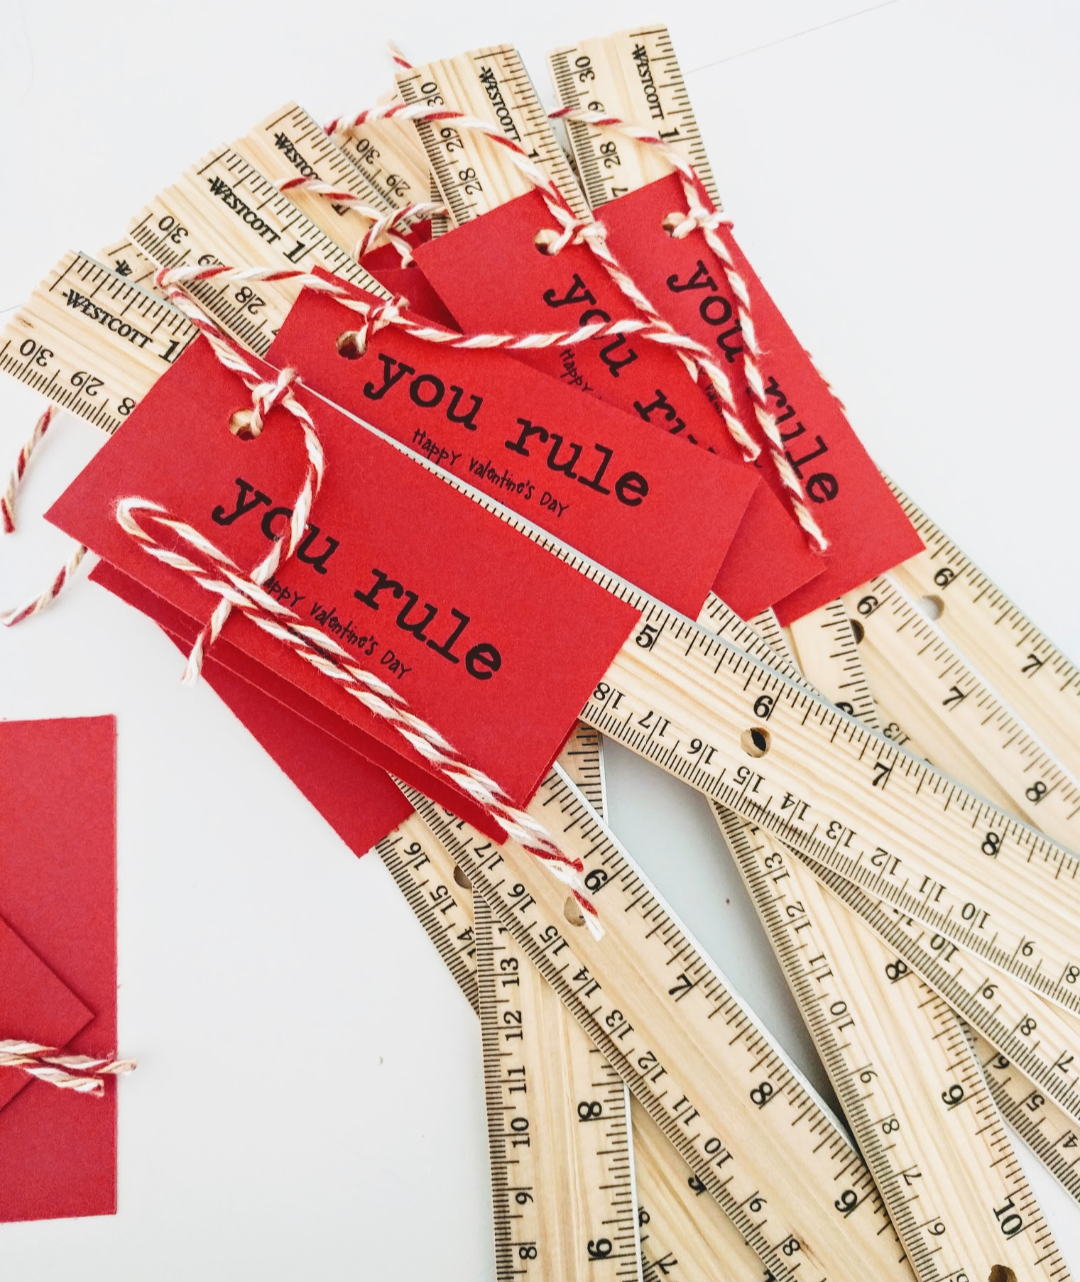
These were the first ones I did, I just printed "You Rule" on some red card stock)


Here is are a couple printables for ya. One is black and one is red.  They are super easy and fun.  And I like that they are not a sweet treat, but a fun tool kids can use for practically anything!


Well, I hope you have a wonderful Valentine's Day.  Know you are loved and appreciated and special!

Jenn:)


Friday, December 16, 2016

Easy DIY Log Candles


Here's another pretty simple gift idea.  If you saw my post about the fireplace log stack, I love how that turned out, and I had a few extra logs I didn't need.  I decided I they were just wide enough to fit a tea votive in.  So, I went to work with my grandpa.

We cut the logs about 3" long, we just eye-balled it.


Then we took the votive and looked at the drill bits (sorry, I can't remember the size) and started drilling.
We clamped it just so it wouldn't move on us...

 Add a candle to each


There you go.  Throw it in a cellophane bag with some extra candles and some crinkly stuff, tie if off and you've got yourself a cute little handmade gift.


Friday, October 28, 2016

2 DIY Festive Spider Webs


 My son had his Halloween party at school this week and I was in charge of games.

I decided I wanted to make a really cute spiderweb for "pin the spider on the web" and went and bought two pieces of black poster board at Walmart for $.97 each.  It was a lot of work, but turned out super super cute.  But I think it's better as a decoration!

Supplies Needed:
1 black sheet poster board
Twine
Scissors & tape
Hole punch


1. I measured 12 stripes about 1" wide and cut them out


(1.b: I "laminated them with packing tape, not necessary but I wanted to make sure it lasted and I'm too cheap to take it to a store).


2.  Then I punched a holes on both ends of them.


3.  I strung the pieces together to form the center of the web.


4.  Next I laid them all out and started making my round pieces.  I tried to use a bowl, but didn't have any really big enough so I just kind of free handed them.

 
5.  Then I punched holes in the ends of the round ones and punched two more sets of holes on the straight ones.
 6.  Time to string again.

There are two ways to do this.  If you don't want your web to be able to collapse, you can string everything together, but if you want to be able to collapse it for storage, then you can just string one end of the round piece to the straight end.

I did NOT string the entire thing together (I wanted to collapse it for storing), so each piece is only connected on one side.


[see how they are only strung on one side?  This allows me to fold it up when I want to store it]

 7.  I taped all the unattached ends with masking tape on the back.


I love the twine knots at the intersections. It's super cute (I think).


It's a little tricky for the spiders to stay on, but it's still super super cute and my son just loves it.  It took a lot of time, but I really like how it turned out!

I didn't know if it would be easy for the kids to keep their spiders attached to this one, so I decided I wanted to make a more simple one...

I saw a really cute "pin the spider on the web" here and thought that was pretty easy so I made my own.  Super super easy & way cute too!  It cost less than $1 and took maybe 20 minutes to make!


Supplies Needed:
1 yard butcher paper
Marker & Ruler
(Plates various sizes)
Tape
Paper spiders (I printed mine from the internet)

I went to Zurcher's and bought a yard of butcher paper for $.67.  They had all sorts of colors, but I decided on green since it's my son's favorite color and kinda Halloween-ey.

I grabbed a yardstick and started making lines.  I did 8 lines 36" long.  Then I measured from the center and marked about every 3".


Then I took my plates and started tracing lines.  I thought about doing freehand, but my ovals always end up lopsided.

 Then I traced them with permanent marker


 There you have it

I decided to laminate mine (about $6) just so I can use it over and over.  And I found my spiders by just googling cute clipart.  I printed them out on cardstock and then "laminated" them with packing tape.

Super fun!

Happy Halloween!

Thursday, September 4, 2014

Wood Candy Corn

I saw these here & here and thought they were pretty cute.  They looked pretty simple so I gave it a go.

I free handed my own templates, three different sizes.

print as 8 1/2 x 11
Trace onto wood (mine is about 3/4" thick)
 Again, thanks to my grandpa, we were able to cut these out in a jiffy.
Cut and sand


Little painting, sanding, & sealing...


I was about ready to glue them together, when my mother-in-law had the great suggestion of using magnets to hold them together.  Let's be honest here, basically all my decorations end up being toys.  This idea made is so my 2-year-old can actually play with them like puzzles.


My husband used a 5/16" spade drill bit to drill the holes.  Pretty easy.  The tricky part was making sure the holes lined up with each other.

I found the magnets @ The Home Depot for around $6, they worked great.

A little tacky glue & some waiting and now my candy corn is done...


Now these can be fun for the kiddos as much as the adults:) Happy Halloween (or fall, or autumn, or Thanksgiving)...