I've had some wood herb garden stakes/sticks/labels/markers a few years for my herbs. This year I wanted some for my vegetables. I looked all over and couldn't find anything I liked. I wanted something wood, but I didn't want Popsicle sticks that would fall apart each year. I didn't want plastic markers that were flimsy. I knew I wanted sturdy stakes that would be long enough for big words & still have room to actually put them in the dirt. So I decided it would probably be most beneficial to make them (plus, let's admit I actually really enjoy little projects like this...even if they do distract me from the piles of laundry or dishes).
I found
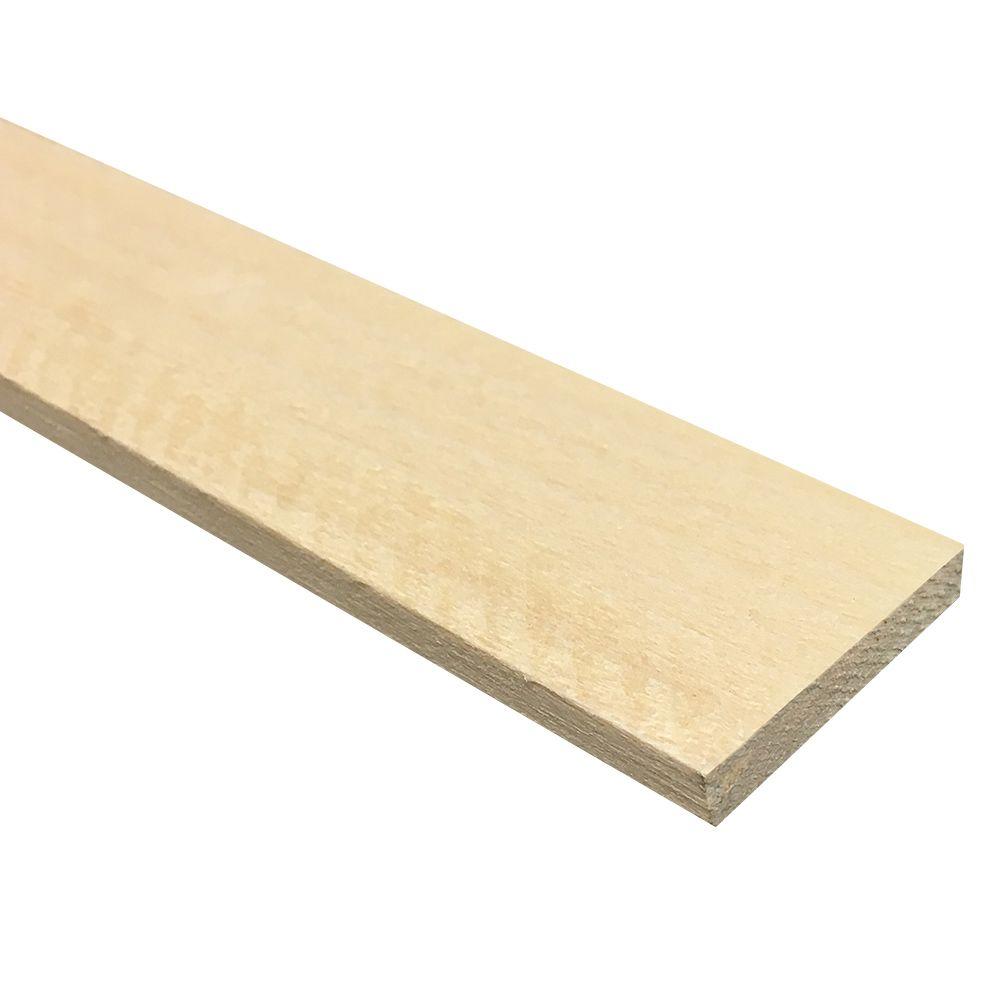
this wood at Home Depot for less than $3 and I got 5 sticks out of one piece:
It's called hobby wood / poplar. It comes in a 4' stick and is 1/4" x 2". Perfect. I bought three pieces and cut my stakes about 9 1/2" (or about there) making 15 stakes total.
1. Measure the wood. I cut my stakes to be about 9 1/2" long.
 |
| (sorry it's upside down). Measuring one end at 9 1/2" |
2. Cut all the stakes flat edged
 |
| We used the first one as the marker for the rest...way easier that measuring and marking each one |
3. Cut one end to be the pointed/angled side
 |
| We then moved the saw blade all the way to one side (to about a 50 degree angle) and cut end, then turned it over and cut the same end, but the other side to make a point) |
4. Sand the stakes
 |
| I sanded them with 150 grit, then 400 grit (it was what I had on hand, I'm sure you don't need them to be 400 fine) |
5. Stain the stakes using a foam brush, stain, a couple paper towels & some disposable gloves
 |
| I grabbed some freezer paper I had on hand and placed them all on it |
 |
| Staining them: paint with the foam brush then wipe off excess. It says to let it sit 2-3 minutes before wiping, but I wiped immediately. |
 |
| This process was really easy & quick. I was surprised at how thick the stain went on. Either the wood didn't have a lot of grain or the stain was SUPER thick. |
6. Add the lettering. I have a Cricut which has made labeling things really easy and fun with different fonts. I played around a little bit to see what I liked the best. I cut all the fonts at 3/4". If you don't have vinyl, you can paint the letters on, or even hand write them if you want. I just wanted mine all to be very uniform:)
 |
| "Cuttin' Up (Serif)" Font [white vinyl, straight] |
 |
| "Opposites Attract (Opposite)" Font [white vinyl, straight] |
 |
| "Cricut Classic (Tall Ball)" Font [white vinyl, crooked] |
 |
| "Cricut Classic (Tall Ball)" Font [black vinyl, straight] |
 |
| "Cuttin' Up (Serif')" Font [green vinyl, crooked] |
 |
| "Opposites Attract (Opposite)" |
 |
| "Cricut Classic (Tall Ball)" |
7. Seal them. I had a couple cans of semi-glass polycrylic sealer so I sprayed them a couple times on each side. This also helps the letters stick on just a little better, and it keeps the sticks safe from weather. You could also use a can of the poly and apply with a foam brush. I sealed the ones I didn't stain and they turned just a little more yellow than the original wood. just FYI.
 |
| Spray each side a couple times to seal |
And there they are. I really couldn't decide on which side I liked best, but I think I am going to stick with the white side...for now:)
I LOVE how they are thick and sturdy (1/4"). They won't bend or break, they're definitely not Popsicle sticks!
I sanded the edges and points so they aren't sharp. Plus I think it gives it a more "hand-crafted" feel
All stacked up and ready to go:)
I made 10 of the grey ones. I made one for each of the plants we bought, but now I want to go buy more plants just to make more stakes:)
We're doing mostly container gardening this year as we don't have a lot of sunny garden space

And here are the unstained ones my kids picked out. They chose their seeds, their watering cans and helped make their stakes. They planted their seeds and gave them some water. Let's just hope they actually live and grow:)
 |
| Add caption |
I really hope this helps you if you're looking for a way to label your garden and want your stakes to last more than one year (I'll make sure to let you know next spring how they held up).
Happy Crafting:)
Total Time: 3 hours
Total Cost: $18 (I had the vinyl & sealer, but I had to buy the bigger can of stain)


No comments:
Post a Comment