I've wanted to make stockings for a couple years. Now that I'm in my permanent home & have the decor that I like I decided it's time to get going. I decided burlap was the way to go.
I found a couple diy tutorials and started with those. I used
this site for the stocking template (I changed it just a bit). I used
this site &
this site to help me figure out how to sew them.
I was having trouble, I'm not going to lie. I wanted my lining to be sewn into the stocking, but I just couldn't figure it out until I found
this site! Totally saved me. I even undid my not-so-great stockings and redid them so they (a) all matched and (b) were right.
Now for the DIY:
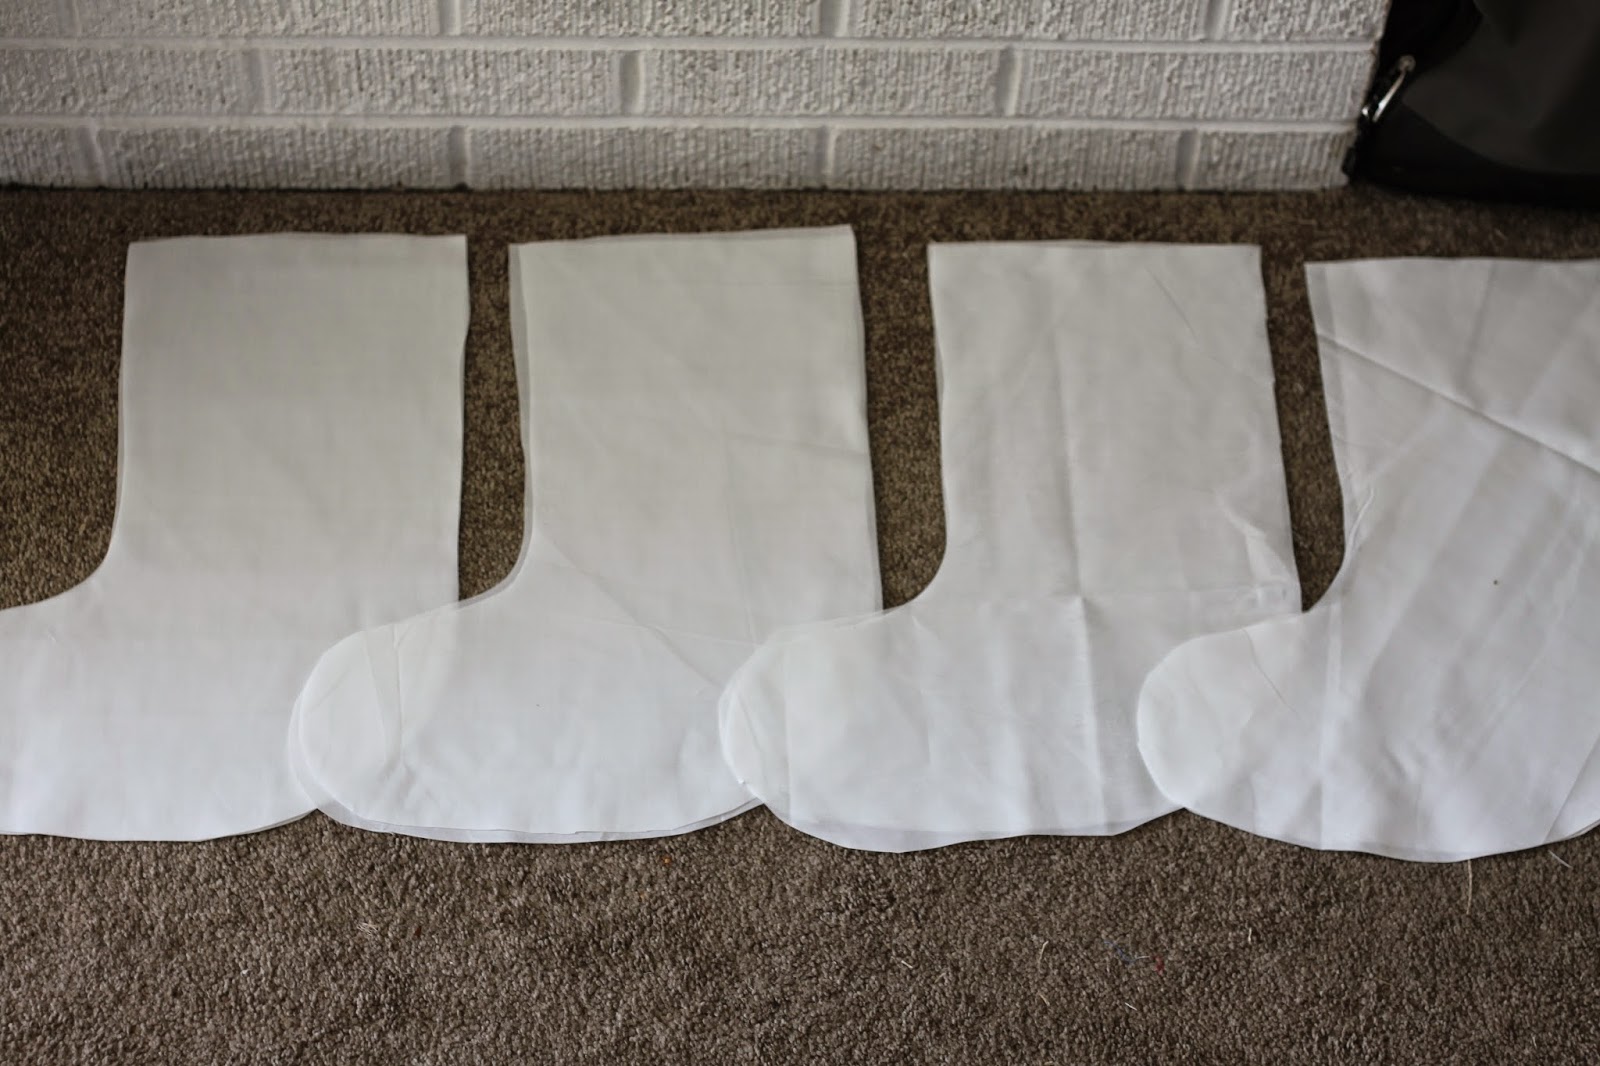
Again, find (or make) a pattern you like and cut out your stockings. I bought 1 yard of burlap & muslin and got about 5 sets out of each.
Next I cut out my cuffs. I did 4" x about 8" (the width of my stocking top). I sewed the cuff to the lining
Then [I sewed the lining together & then the stocking together…save yourself some time] I placed the 2 linings on top of the two burlap pieces...
.JPG) |
| Make sure the cuff is out (right sides together). |
.JPG) |
| Make sure to overlap the burlap with the cuff about 1/4"as well |
.JPG) |
| Sew around the edges, but not the top, only the sides (including cuff) & bottom |
 |
| Should look something like this when you're done |
.JPG) |
| cut around the corners/rounded areas to allow movement |
 |
| cut extra material off to reduce bulkiness when turned |
Now the fun part...
 |
| This is what it should look like...you're going to turn it right sides out...from the lining so the lining will be o |
 |
| Alright, now that the lining is on the outside (looks like a nice white stocking), pull from the inside again, this time between the burlap |
 |
| This is what it should look like if you did it right, the cuff is inside out, but the burlap is right sides out:) |
 |
| Now stitch along the top of the stocking, leaving the cuff still out |
 |
| Hem the end of the cuff |
.JPG) |
| Now the cuff & the top of the stocking are stitched, it's time to fold the cuff over |
.JPG) |
| Ta da... |
 |
Almost done...now for the loop..
|
.JPG) |
| See how the lining is clean (right sides out) and so is the stocking |
Sadly, this is what took me so long to figure out....until I found that tutorial. I had three stockings that were not right...had to un-stitch them all :/
Now for the hanging loop. I've kind of been obsessed with grommets & twine (and this fabric if you've read previous posts).
 |
| Found the back of the stocking where I wanted to put the grommet |
 |
| Using this tool (found online or at local craft store), use the small part against the metal punch |
 |
| Place it on the designated spot & push |
 |
| ...hard. You should hear/feel it go through the fabric |
 |
| It should leave a little hole going all the way through. Use scissors if you need to |
 |
| Grommets...two different pieces, the flat piece and the ... other piece |
 |
| Place piece with the lip on the front (or outside) of the hole |
 |
| push it through... |
 |
| so it comes out the inside of the stocking and the edges are completely exposed |
 |
| Place the flat piece on the inside, over the lip |
 |
| Push & twist the white plastic piece so the larger end is over the metal piece |
 |
| Place the metal part over the lip of the grommet, making sure it's as flat & even as possible |
 |
| Press until you've heard it and it should look like this |
 |
| Add some twine & there you go |
 |
| Now you can see the grommet & the clean seams of the interior lining |
 |
| Look from the back |
 |
| Love the look |
 |
| Love the grommet look |
 |
| Simple stockings |
There you have it. Hopefully that helps a bit with your Christmas stockings diy. I still have to individualize them, but I still have a couple months...right??
The burlap & muslin I got at JoAnn's for about $4 a yard. I bought 1/2 yard of the cuff at $6.29 a yard. Already had the twine & grommets.


.JPG)
.JPG)
.JPG)
.JPG)


No comments:
Post a Comment