Tuesday, August 25, 2015

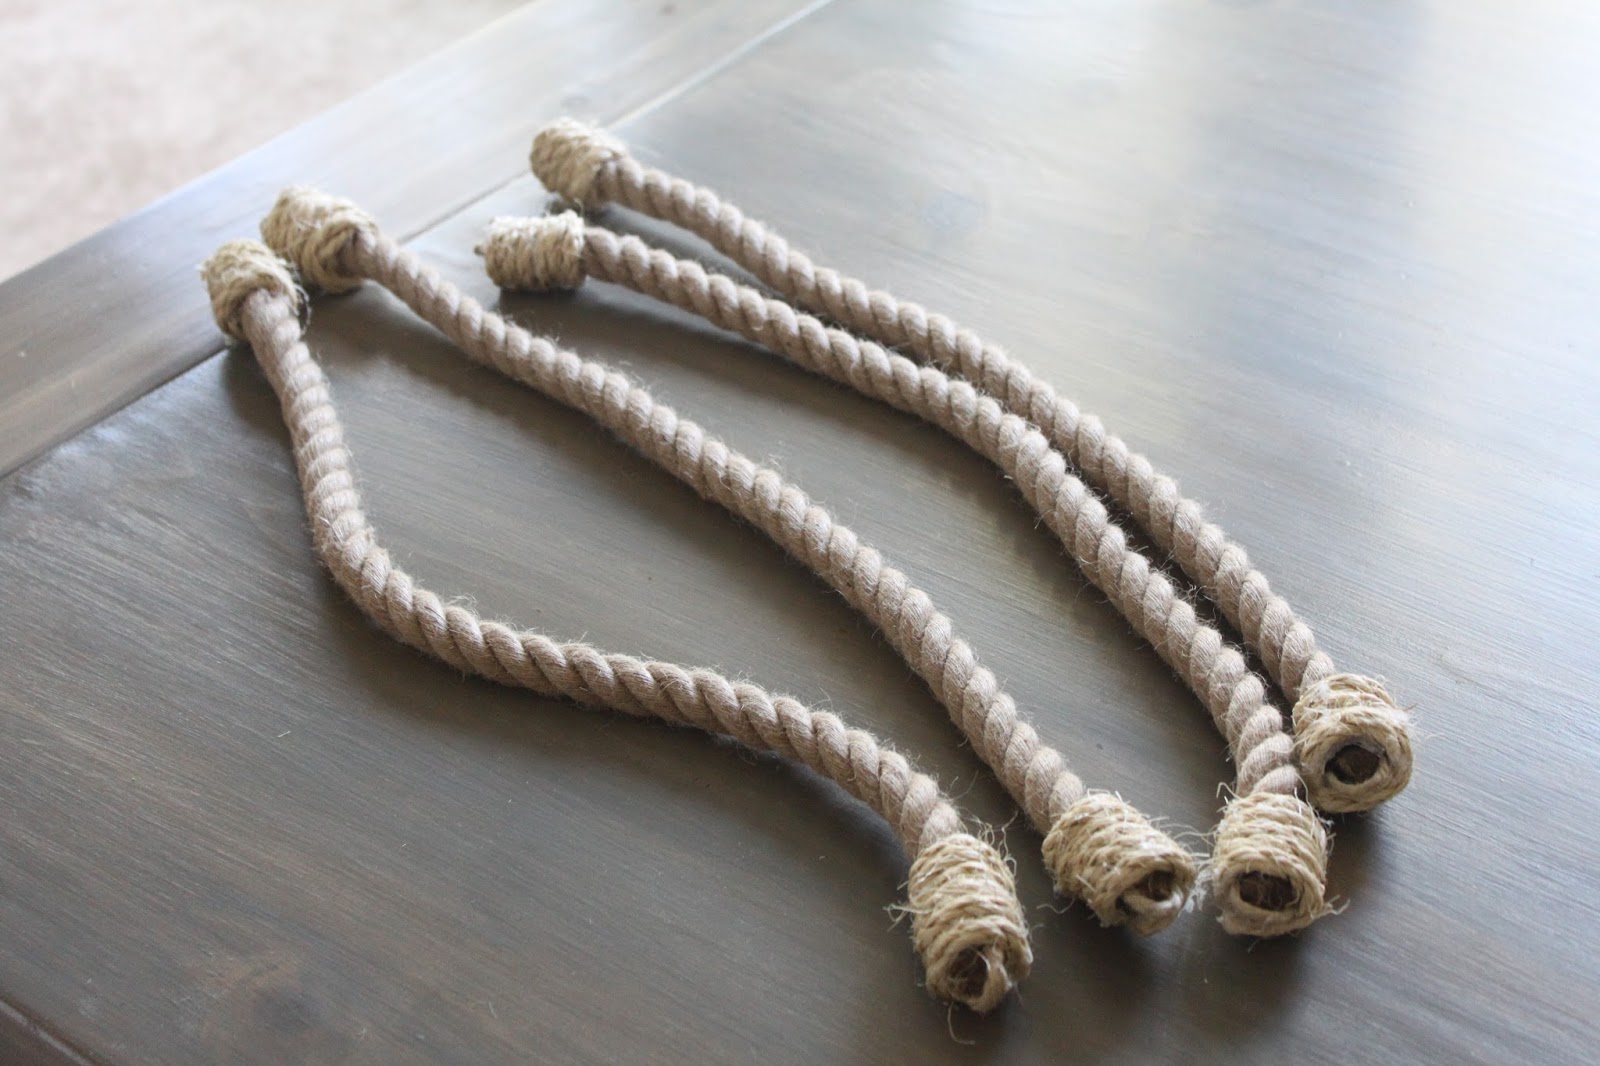
Rope Tie Backs

I wanted something just a little different.  I've loved my curtains, but I wanted something a little lighter, something a little more "beachy" so I went shopping.  Ikea.  I bought 4 panels for $50 total (when you can spend that much on one panel alone)!


The curtains came with tiebacks, but I wanted something a little better.   I liked the idea of rope tie backs; they have that beach feel to them and are just cute.  I searched the Internet and came across one that I liked the most:

Rope Curtain Tie Backs


This one gave me some good tips as well so I pinned it too.

I found the jute rope at Michaels & using a coupon I got it for like $3 or something cheap like that.

Ashland™ Jute Rope, NaturalAshland Jute Rope, Natural  
In the tutorial above, they bought one of the jute ropes for each panel, but I'm cheap and didn't want to spend more money than necessary.

Then I went to Wal-Mart and found the twine:
Sisal Rope, 0.25" x 100'
and hemp:
Natural Polished Thick Hemp Cord


I also bought some clear Command hooks to use.  

Command Clear Hooks and Strips, Plastic, Medium, 6 Hooks with 12 Adhesive Strips per Pack
These would be strong enough, but small enough and clear so they wouldn't be too noticeable.


Now the "how to":

1:  I measured my jute rope into 4 equal sized pieces (about 22").  I put electrical tape over the soon-to-be ends so they wouldn't fray.

 2:  I cut the jute rope


 3:  Next, using the hemp (you could use thick twine as well), I cut 8 pieces about 5 inches long or so.  I wanted to do mine a little different than the one I saw.  She made one large loop.  I decided if I ever wanted to switch out the hemp (or twine) for metal loops, this would make it possible.


4: Again, using more electrical tape, I taped them down, leaving just a small loop on the end

5:  Using the thick twine or rope & using a hot glue gun I started gluing about 2 inches from the ends.  I overlapped the end of the twine I was wrapping so you couldn't see it.  Then, I just kept wrapping until I got to the end of the jute rope.  It took a decent amount of patience and glue, but I think they turned out alright.


6: Now I took longer pieces of the hemp (i think these are about 6" or so) and looped it through that original small loop, then hot glued the ends together.


And there you have it!  I love how they turned out. They give the curtains just that much more character/charm.


So, there's to one more "beachy" thing in my mountain home.  Living in the Rockies, I'm doing my best to bring the beach to me.


Happy crafting!

Total Time: 1 hour
Total Cost (not including curtains): $25ish

Wednesday, May 13, 2015

Wood Toys

If I ever opened an Etsy Shop it would be called "grandpa's wood shop" because I make everything in my ... grandpa's wood shop.  He has been working with wood since before I was born and is incredibly talented.  I like to do the same, although I'm no...where....near as good as he is.  Yet, I have to start somewhere.

I wanted to make some wooden toys for my kid(s) to play with.  Wood is sturdy, timeless and well, my wood toys come with memories and are a priceless heirloom.

I googled wooden toys and found several on Etsy, most of which were quite expensive (but considering how much time it takes to make one, I totally understand it).  Anyway, I pinned a few and decided to go ahead and make my own.

I bought materials at The Home Depot & Walmart (spent approx. $60) and started making my own patterns, tracing and then headed to my grandpa's wood shop.

The items I decided to recreate: herehereherehereherehereherehere and here.
Mine are different, but I love them just the same, maybe a little more since they are made from my own elbow grease and my grandpa's skill.


Fishing pole & fish:

 My grandpa and I slaved over how to make the hook (the one on Etsy was just too hard for an ameatur like myself).  My grandpa suggested a smaller dowel.  I like it.  I might update or make another/some more with magnetic fish instead of the dowel for younger kids, but I still absolutely love this little toy....and so does my little guy.


Jump Rope:

 My grandpa is amazing on the lathe.  I just absolutely love how these turned out.  Seriously.  The example I looked at is painted red, but I just love the natural look of this.  I might eventually have to make larger holes for thicker rope, but it's just right for now


Stacking Sorter


Again, I absolutely love how this one turned out.  It was actually super easy too.  I cut a 8' x 10" board and got a 4" x 10" piece for the base.  The dowel is I think 5/8 or 1/4 I can't remember.  The shapes are 1/2" plywood (which I might recommend not using plywood, but actual wood).  Again, the one in the example is NOT painted, but I liked the idea of adding some color for interest.


 Lacing Toys:


Again, this toy is so much fun.  We did it out of the 1/2" plywood (which it was pretty messy to sand), but I love the thickness.  I made patterns for the holes on my templates so they are evenly spaced and my grandpa used his drill press to drill all the holes.  After some (lots of) sanding and smoothing, I think they turned out pretty cute.


 Bowling Set:


I had to order the ball online.  I found 3" balls on Ebay, 8 for $10 free shipping.  That made me happy and they are just right.  The pins are 8" tall.  My child is obsessed with bowling.  Anytime we drive past a bowling alley, he begs to go.  It's kind of strange and funny at the same time.  Anyway, we have a plastic bowling set, but I love now that we have a wooden one too.


I showed my sister my idea for these crafts and she wanted her own set so I was able to get two sets out of the wood and supplies I bought.  I still have a few more things to make, but I just love that my kids will have something special to play with as they grow up.

Made with love.

Total Cost: $65
Total Time: 10+ hours

Denim Patchwork Quilts

When I was updating our "dump" room into a kid's bedroom, I decided to add a few handmade items for a bit of charm.  

Denim throws were what came to mind.  Easy, pretty cheap (considering how much you could pay for these online), and fast.  

 I went to a local thrift store and bought the cheapest, biggest jeans I could find.  These were size 50 and cost $17 for all of them.  I made sure they didn't have any holes and weren't too worn that they'd fray or rip.

Wash them in HOT water to and then start cutting.

I wanted my finished squares to be 9" so I cut 9 1/2" squares to allow for seam allowance.

Once I had all my squares cut out, I placed them in the order I wanted them and started sewing

I sewed the blocks in rows (4 across), then sewed the rows together.  It really took only a couple hours maybe (I got most of them cut and sewn while my child was napping).

Once I had them sewn together (I kinda stopped taking pictures, I always do that).  I bought a single twin flat sheet (navy) from Walmart for less than $5.  I bought 2 yards batting at JoAnn's that was $5.98 a yard, so again, pretty cheap considering.

Place the batting on the denim (right side facing up/the batting), then the sheet on top of both (right side [if there is one] facing down/again, the batting).  Pin and cut around if needed

Now, sew along the edge (leaving a 1/4" hem).  Leave about 8-10" unsewn so  you can turn the quilt right sides out.

Once you've turned it, it's time to "quilt."  I just followed the squares and did some "ditch sewing" (or whatever the proper name is).  Seriously, this took me maybe 2 hours to do (luckily my grandmother has a Bernina and also watched my child for me).

Done.


 I didn't add a binding or border, these were pretty basic.  But I still love how they turned out; they give just a little bit of warmth and coziness to the room.


Total Price: $35 for both (so $17.50 each)
Total Time: 4-6 hours