Tuesday, March 12, 2013

Kleenex Box Cover

My husband remodeled our bathroom this past summer (bless his heart, I was 7 months pregnant so each night after working, he would replace the toilet for me).  Anyway, I've tried to somewhat decorate the bathroom, but I never could find that right Kleenex box cover.  I bought the cute ones that you can try and match, but after it ran out...the problem was back.

So, I decided to make my own.  It wasn't too difficult, but I did have to pick some seams and try again.
End result
Here is what I ended up doing...

I used an empty milk box from Costco...I cut the bottom into 4 pieces that would be the sides of my box...
Yay!  The hole was already cut for me, I just centered it and cut to make the top piece
Once I had my four sides and top, I placed them around an actual Kleenex box and taped them together
Then I taped the top on...and covered the whole thing with tape.  I then cut the tape over the hole and pushed it in, so the sides of the hole were smooth


 Okay, here's where the pictures stopped.  I was going to just mod-podge some cute paper on, but then I decided I wanted a little sturdier box, so I grabbed some scrap material I had lying around.  I measured the top of my box and added about 1/2", then I measured all four sides of the box and added a couple inches to the width, then added an inch to the height.

I hemmed the bottom edge of the piece that would go around the sides.  Then, I cut a hole in the top piece, folded the edges over and sewed a border.

Then, I took that top piece and placed it on the piece for the sides.  I sewed along one edge, and when I got to the corner, I left the needle down, turned the TOP piece to have its edge match the edge of the side piece (make any sense?), then I continued sewing.

When I got all the way around, I had just enough fabric left over to sew the sides together.

Mine ended up being just a tad short, so I found another piece of material lying around that matched and tied it around the bottom...I think it gives it just a bit more character.


Here is the end result.


It's not perfect, but for a rookie and not reading any tutorial, I think it turned out quite nice.  And now I have a nice cover, so no matter what the Kleenex box looks like, I can always cover it up.

Total time: 2 hours (would've taken a lot less time had I known what I was doing).
Cost: Free


Tuesday, December 18, 2012

Crayon Travel Case ... Updated

So I posted earlier about the crayon travel case.  It was pretty simple and turned out not too shabby, but I didn't like how you could see the crayon pockets from the outside of the book...so I made some changes and here's the updated version.

Materials needed (same as before):

(Book)
2 pieces fabric 7 1/2" x 15 1/2"
1 piece interface 7 1/22" x  15 1/2"
(Pocket)
1 piece fabric 6" x 15 1/2"
1 piece interface 3" x 15 1/2" (optional)
(Ribbon)
1 piece 17-18"
1 piece 11-12"


Iron interface to wrong side of pocket (if using interface for pocket).

[not pictured]: Iron interface to wrong side of one piece for the book

Fold pocket in half, right side facing OUT

Sew a 1/4" seam along the FOLDED edge
place the pocket on the piece of the book that does NOT have the interface...align edges and bottom (raw edges of pocket to the bottom of the book)


Measure and mark (5 1/4" from the right, 5 1/4" from the left (mark the top of the book, and the pocket).


 This is where you might find it tricky, but it's really not.  Once you have the book measured into thirds, go to the pocket and measure (starting from the inside) every 7/8" for the crayons.  Do this for both sides (see where I put the 7/8" mark on the right side of the pocket?...you'll want to start sewing there, not at the very inside mark). 


see how I started at the second measurement from the inside?


Place the ribbons on, short one first [unlike photo], then long one...make sure the seams (if applicable) face out


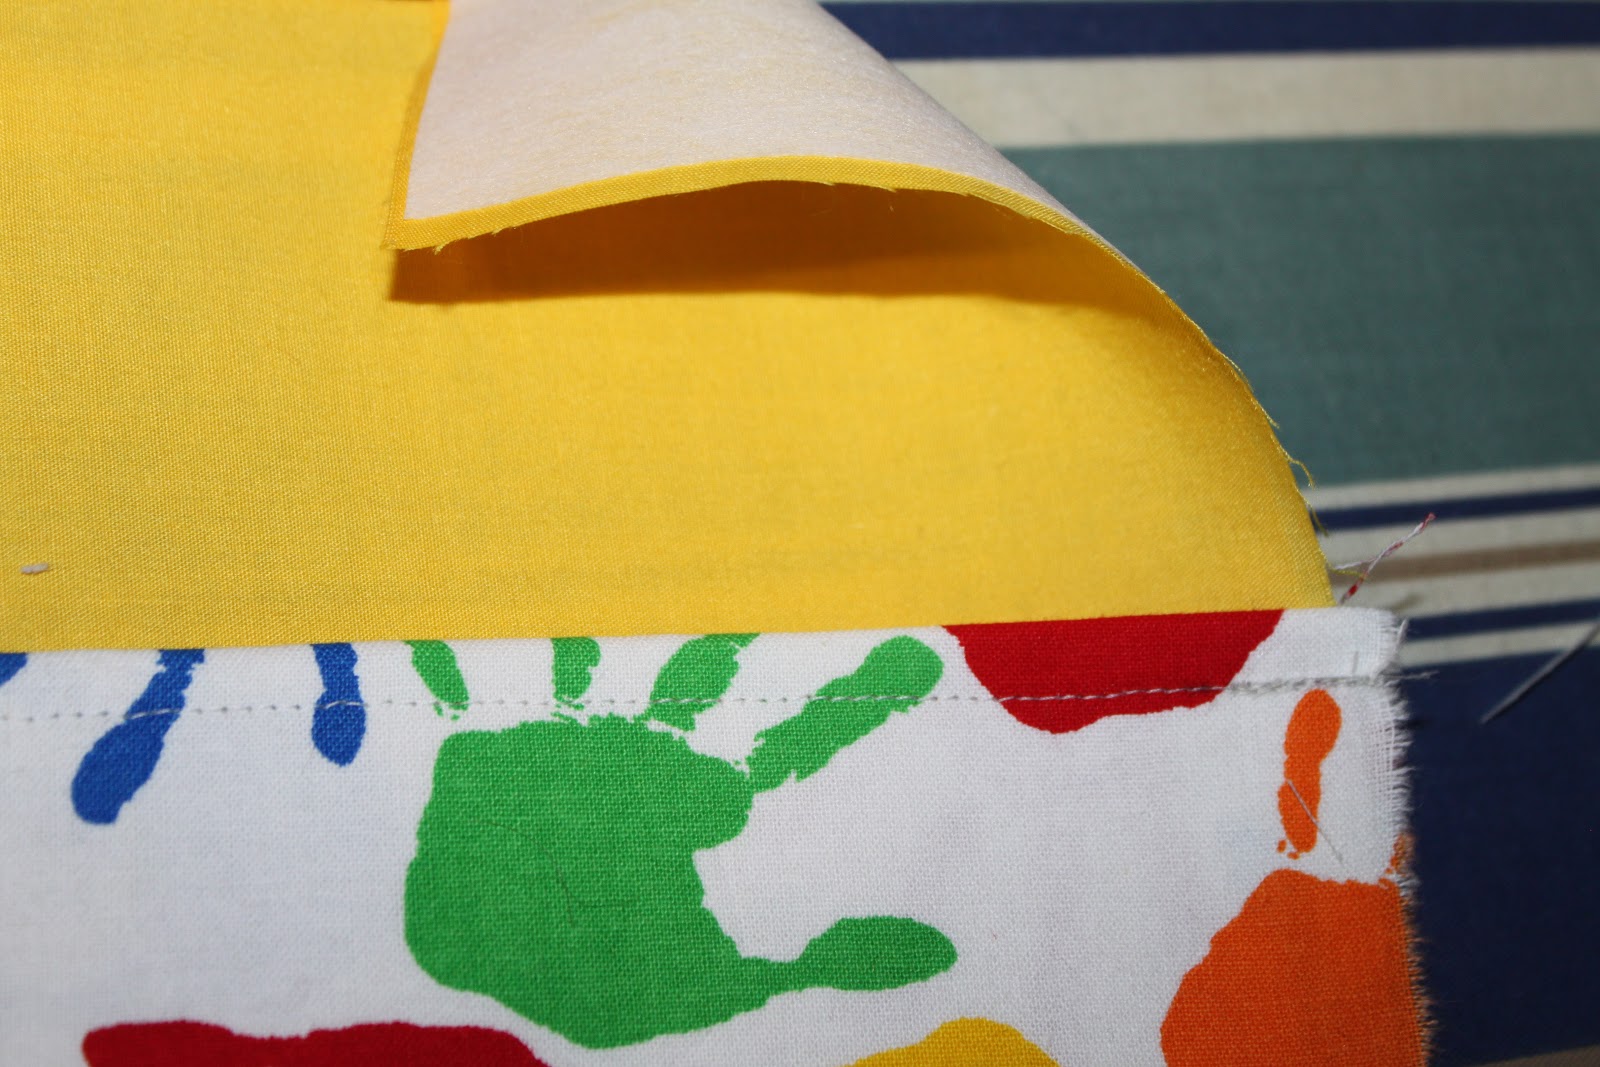
Place the other piece of the "book" on top, interface facing out..Sew around using a 1/4" seam allowance and leave a 2" hole where the ribbons come out

cut excess off edges & corners
turn right side out, push out corners


make sure to fold in the hole
iron

sew around the edges, 1/4" seam allowance (the most outside seam from the pocket should match up as you sew along the edge)


now, sew all the way down those two middle markings (they should now be just at 5" from either side..making each section 5")

And now you're done:)


Like I said, this was a little bit harder, but not really by much.  It was just measuring and starting from the inside to sew the crayon pockets.  But, I like the finished product much more, it has a cleaner look when the book is closed.

Happy sewing (and coloring for the kids)!

Wednesday, December 12, 2012

Crayon Travel Case

 So my sister told me her kids could use one of those crayon travel cases (I've seen them all over, the little crayon roll ups).  Well, I thought, "since I'm a stay-at-home mom now, I have time to make them."  Yesterday I headed over to JoAnn's and got some fabric (their favorite colors)...and I bought some crayons at Smith's for 99 cents a pack...

I looked all over for the right tutorial.  There are the crayon roll ups, the crayon and paper books, and finally I found this tutorial.  It looked like the easiest to follow (for the most part) and had the idea that I wanted.

Sew (lol), here is what I did.  The first one took a bit of time, trying to figure out all the little details, but after that, the others came together quite quickly.

You will need:
Fabric:
    2 pieces 15 1/2" x 7 1/2"
    1 piece 15 1/2" x 6"
Interface:
    1 piece 15 1/2" x 7 1/2"
    1 piece 15 1/2" x 3 (optional)
Ribbon (I used extra fabric so it would match):
     1 piece 11-12"
     1 piece 17-18"


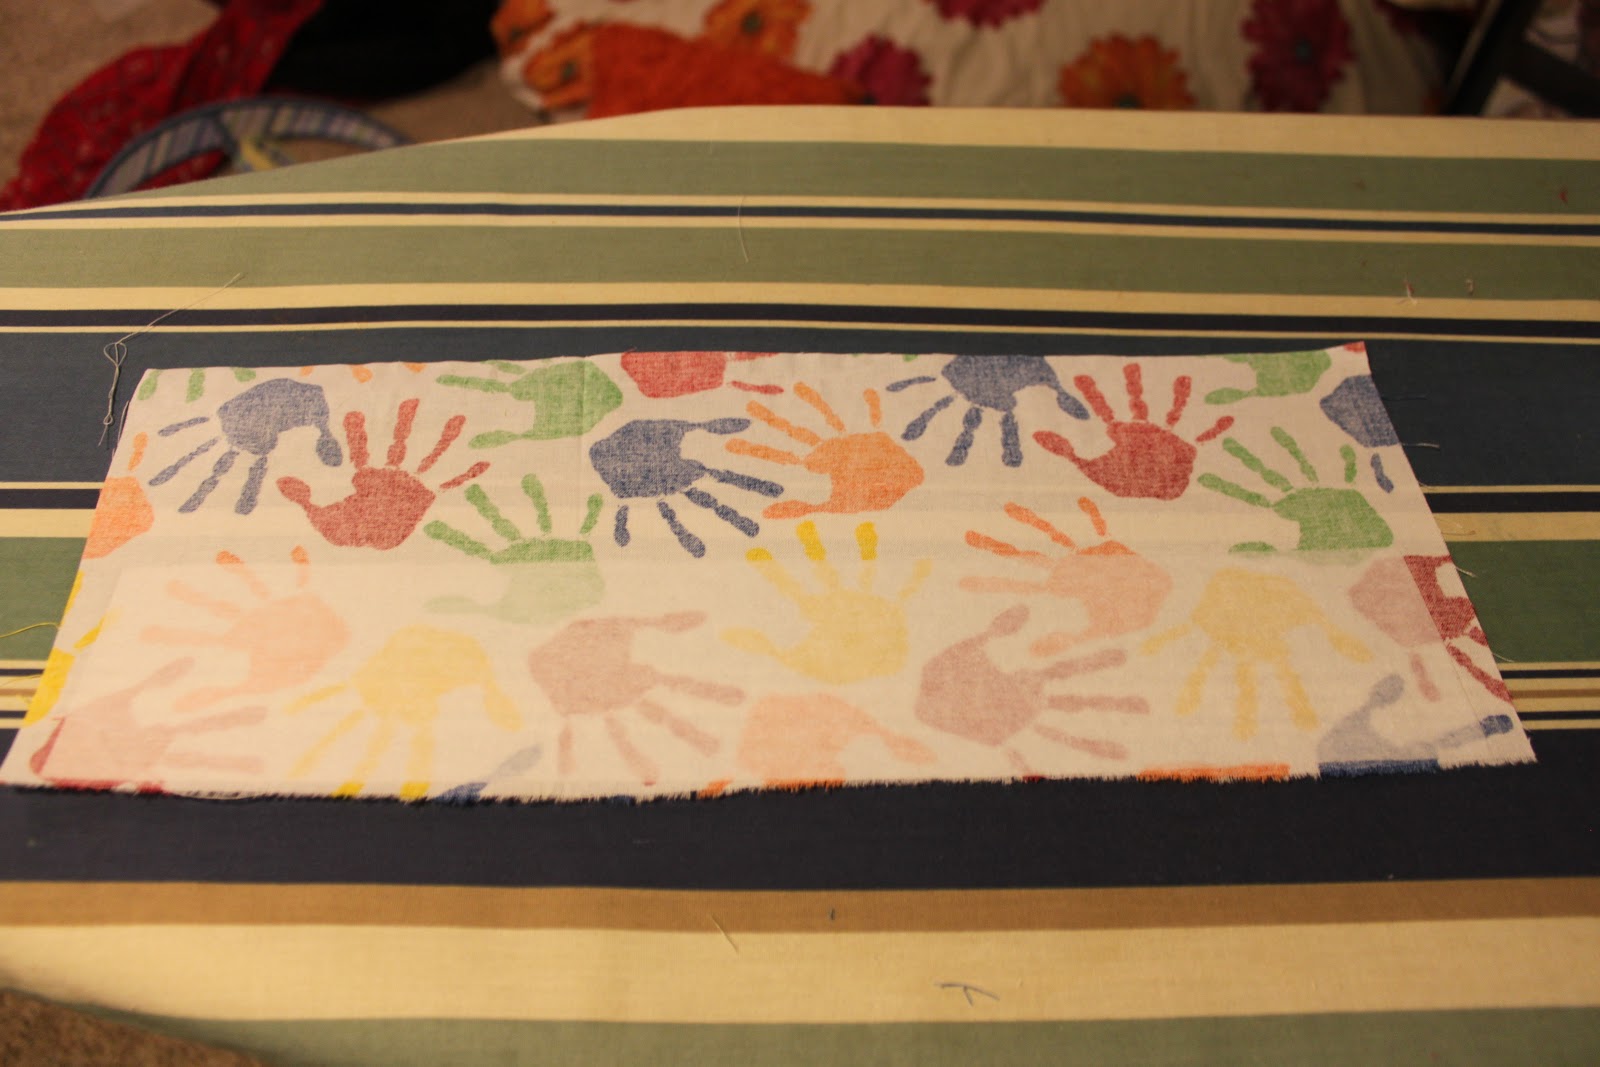
The materials I got to make three books...I got a full yard of the hand fabric & the interface, and a 1/2 yard of the solid colors (definitely had leftover). Iron all your fabric first.

Cut two pieces the fabric 15 1/2" long

and 7 1/2" wide

Cut the "pocket" 6" wide

and 15 1/2" long

Here are the pieces I'll work with to make one book...the two solids (for the front & back) & interface, the pocket & interface (I used interface for the pocket to make it a bit stronger and because the fabric was a little see-through).

[directions on how to use interface]

Iron the interface to one piece of the "book" fabric


[not pictured: place interface on wrong side of "pocket".  Iron, then fold in half (wrong sides together)]

sew 1/4" seam along the folded edge of the pocket (this seemed confusing as to why do this, but it makes sense I promise)

see...

place the right side of the "book" and the "pocket" (folded/sewn side at the top) together


put the "ribbon" or ties (I used extra fabric so it'd match), long one, then short one on top [sidenote: make sure to place them ABOVE the pocket...unlike what I did]

then place the other piece of the "book" on top (right sides together, so you're looking at the wrong side)

sew 1/4" around the entire thing, but leave a 2" gap where the ribbon comes out on the side
the hardest part was turning it right sides out.

that's the 2" hole...

fold it in so you can't tell...

sew around the whole thing with a 1/4" seam [see how the ribbon is coming out of the pocket...oops!]

fold it in thirds and iron each crease

see the creases

sew down the crease

I measured 7/8" for each crayon.

And there you have it...
Cute all folded up

place a pad of paper (where the crayon box is) and put the crayons on either side


 Hopefully that helps...at least it helps me.

Total Cost: $18
Total Time: 3 hours (to figure it out)

Tuesday, November 6, 2012

"Give Thanks" blocks

I have a ton of Halloween decorations...and a TON of Christmas, but hardly any Thanksgiving.  So, I Googled [is that even a word?] some and found one I liked.

I'm not as fancy as the person who made that one [nor am I patient enough to make it look perfect] so tweaked it just a bit.

First, I had to find a spot to put this craft [my house is small and therefore I can't make lots and lots of cute little crafts to fill it with...I have to limit my crafts-so this one is special since it gets a spot in my house;)], so I found my spot, measured and went to The Home Depot (love that store).  I bought a 1"x4" piece of wood for around $2.

Then, I headed over to my grandpa's house who is so kind to help me cut all the pieces [he is amazing and has nearly every piece of machinery to make any word crafts].  We cut 2 10" pieces, 4 4", 2 5" and a couple 3".  Then, since I needed to blocks to be approximately 16"wide total, we had to cut each block to 2 3/4".


Blocks cut and ready for paint. 
 I laid them out how I wanted them to look when finished...
It took me a couple minutes to figure out the layout, but I liked this one the best.


Next: painting and sanding.  I had all the paint already so that didn't cost me anything.  I painted them, let them dry and sanded the edges.


then I added vinyl letters that I cut from my Cricut.  Unfortunately I don't have many fonts, but I thought this one worked okay.  I added some acorns for effect.
So, there you have it.  I think it turned out pretty cute!

Total cost: $2.13

Total time: 2 hours