Wednesday, December 12, 2012

Crayon Travel Case

 So my sister told me her kids could use one of those crayon travel cases (I've seen them all over, the little crayon roll ups).  Well, I thought, "since I'm a stay-at-home mom now, I have time to make them."  Yesterday I headed over to JoAnn's and got some fabric (their favorite colors)...and I bought some crayons at Smith's for 99 cents a pack...

I looked all over for the right tutorial.  There are the crayon roll ups, the crayon and paper books, and finally I found this tutorial.  It looked like the easiest to follow (for the most part) and had the idea that I wanted.

Sew (lol), here is what I did.  The first one took a bit of time, trying to figure out all the little details, but after that, the others came together quite quickly.

You will need:
Fabric:
    2 pieces 15 1/2" x 7 1/2"
    1 piece 15 1/2" x 6"
Interface:
    1 piece 15 1/2" x 7 1/2"
    1 piece 15 1/2" x 3 (optional)
Ribbon (I used extra fabric so it would match):
     1 piece 11-12"
     1 piece 17-18"


The materials I got to make three books...I got a full yard of the hand fabric & the interface, and a 1/2 yard of the solid colors (definitely had leftover). Iron all your fabric first.

Cut two pieces the fabric 15 1/2" long

and 7 1/2" wide

Cut the "pocket" 6" wide

and 15 1/2" long

Here are the pieces I'll work with to make one book...the two solids (for the front & back) & interface, the pocket & interface (I used interface for the pocket to make it a bit stronger and because the fabric was a little see-through).

[directions on how to use interface]

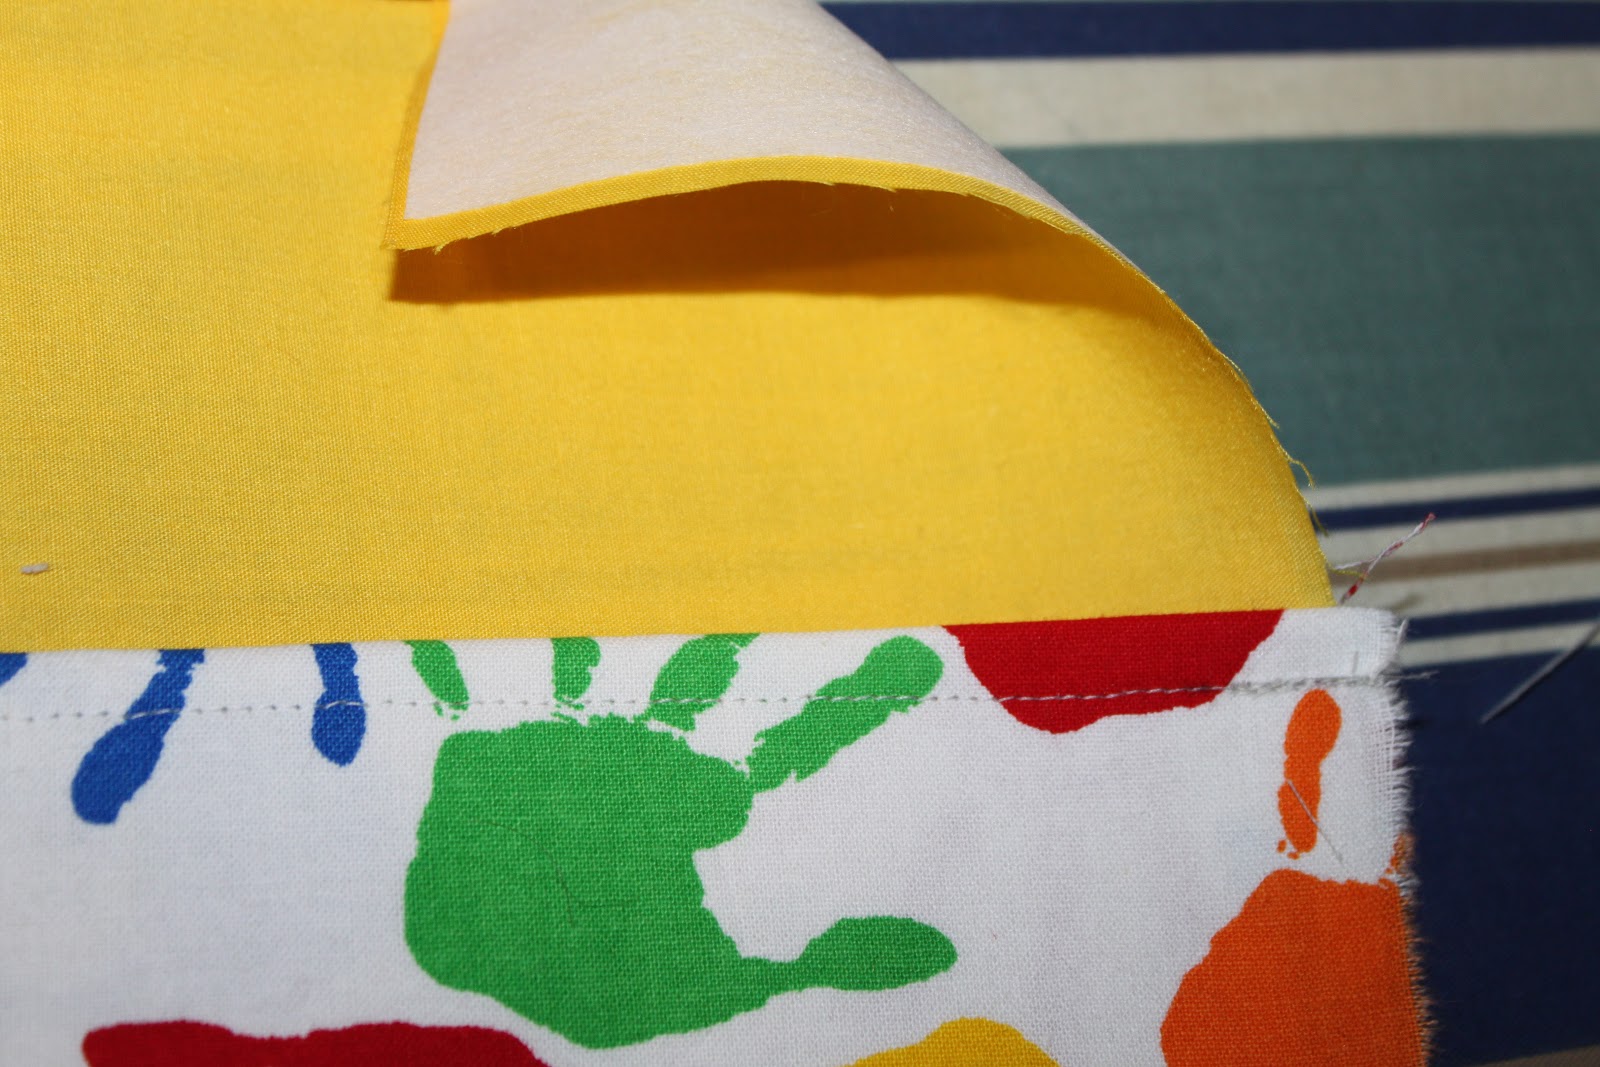
Iron the interface to one piece of the "book" fabric


[not pictured: place interface on wrong side of "pocket".  Iron, then fold in half (wrong sides together)]

sew 1/4" seam along the folded edge of the pocket (this seemed confusing as to why do this, but it makes sense I promise)

see...

place the right side of the "book" and the "pocket" (folded/sewn side at the top) together


put the "ribbon" or ties (I used extra fabric so it'd match), long one, then short one on top [sidenote: make sure to place them ABOVE the pocket...unlike what I did]

then place the other piece of the "book" on top (right sides together, so you're looking at the wrong side)

sew 1/4" around the entire thing, but leave a 2" gap where the ribbon comes out on the side
the hardest part was turning it right sides out.

that's the 2" hole...

fold it in so you can't tell...

sew around the whole thing with a 1/4" seam [see how the ribbon is coming out of the pocket...oops!]

fold it in thirds and iron each crease

see the creases

sew down the crease

I measured 7/8" for each crayon.

And there you have it...
Cute all folded up

place a pad of paper (where the crayon box is) and put the crayons on either side


 Hopefully that helps...at least it helps me.

Total Cost: $18
Total Time: 3 hours (to figure it out)

Tuesday, November 6, 2012

"Give Thanks" blocks

I have a ton of Halloween decorations...and a TON of Christmas, but hardly any Thanksgiving.  So, I Googled [is that even a word?] some and found one I liked.

I'm not as fancy as the person who made that one [nor am I patient enough to make it look perfect] so tweaked it just a bit.

First, I had to find a spot to put this craft [my house is small and therefore I can't make lots and lots of cute little crafts to fill it with...I have to limit my crafts-so this one is special since it gets a spot in my house;)], so I found my spot, measured and went to The Home Depot (love that store).  I bought a 1"x4" piece of wood for around $2.

Then, I headed over to my grandpa's house who is so kind to help me cut all the pieces [he is amazing and has nearly every piece of machinery to make any word crafts].  We cut 2 10" pieces, 4 4", 2 5" and a couple 3".  Then, since I needed to blocks to be approximately 16"wide total, we had to cut each block to 2 3/4".


Blocks cut and ready for paint. 
 I laid them out how I wanted them to look when finished...
It took me a couple minutes to figure out the layout, but I liked this one the best.


Next: painting and sanding.  I had all the paint already so that didn't cost me anything.  I painted them, let them dry and sanded the edges.


then I added vinyl letters that I cut from my Cricut.  Unfortunately I don't have many fonts, but I thought this one worked okay.  I added some acorns for effect.
So, there you have it.  I think it turned out pretty cute!

Total cost: $2.13

Total time: 2 hours

Wednesday, September 5, 2012

Crib Skirt

I guess people call it nesting...I just call it getting ready.

My grandma is working on a baby quilt for this little guy and I thought...I should do a crib skirt.  Since our baby room is pretty small, I will be maximizing all the storage space I can-which includes under the crib.  I don't want people walking in and seeing all the stuff shoved under there (because let's be honest...I'm sure it won't be as organized as I would like).  So, I decided to buy some fabric, look at some tutorials on pinterest and make my own bed skirt. 

So without further adieu...


measure the length of the crib...the width of the crib (times that by 2) and how tall you want the skirt to be...
 
Mine was 27.5 w x 52 l x 16 tall

measure the base fabric (this is like the sheet that everything is sewn to and sits below the mattress)
measure your fabric and allow for 1"seam allowance..
iron all fabrics

pin down the hems..

lay it out to make sure it looks pretty

sew hems, then sew base to each side of skirt (remember...right sides together)

after all sides are sewn to base...put it in the crib...pretty good fit I think

finished product. front view


close up on the corners...
side view...

All in all it was pretty easy.  It took me maybe a little over an hour.  I got my fabric at Quilts Etc.  It was a little pricey, but it totally fits the room. 

Total Cost: $26
Time: 1 hour


Saturday, March 24, 2012

Pinterest in action...

I've been spending most of my spare time on pinterest.  So much time just looking until I decided to actually do some of the things I've seen and loved.

So...here are a few of the projects I've attempted:

Leafy green pillar candles.
really easy and I think they add a bit of spring to a plain pillar candle


And, I made these last week.
I think they are so dang cute and everyone who has seen them at my house says they just love them:)

The original isn't on a stick, but I thought they were cute as standing flowers in vases (since my real daffodils hadn't quite bloomed yet).

And here's one more I didn't see on pinterest, but thought I could make these cheap soap pumps from Wal-Mart look a little more classy using my cricut.

just hoping the letters actually stay on when they get wet...


So, there you have my crafts...I've been desperately attempting one more...tried it THREE times, but still can't get it to look as good as the tutorial (of course not...I am not a professional craftswoman ... or blogger), but we'll see if I ever get it right.

Wednesday, January 4, 2012

Draft Stopper

Our front door lets in a LOT of cold air through that annoying little slit on the bottom. Well, today no more cold air is gettin' through!

I bought heavy fabric at Wal-Mart for about $2 (1/2 yard) and a couple of bags of split peas ($3 each) and made myself a draft stopper.

I got a neutral color so I wouldn't have to worry about color coding...

And I put the peas in a separate sleeve so I can wash the cover anytime it gets dirty

I decided to add a "handle" to it (you can't see it in the photos) so I could hang it on the door (once I get some hooks installed) so we don't have to move it every time we use the door.  That way, it will just move with the door.

All in all:
Total Cost: $9
Total Time: 1 hour

Monday, January 2, 2012

stairwell finally painted

We've been meaning to paint this since...well, when we painted the kitchen. 
It's amazing what happens when I have a day off:

now it matches the kitchen:)

Old Board refurbished

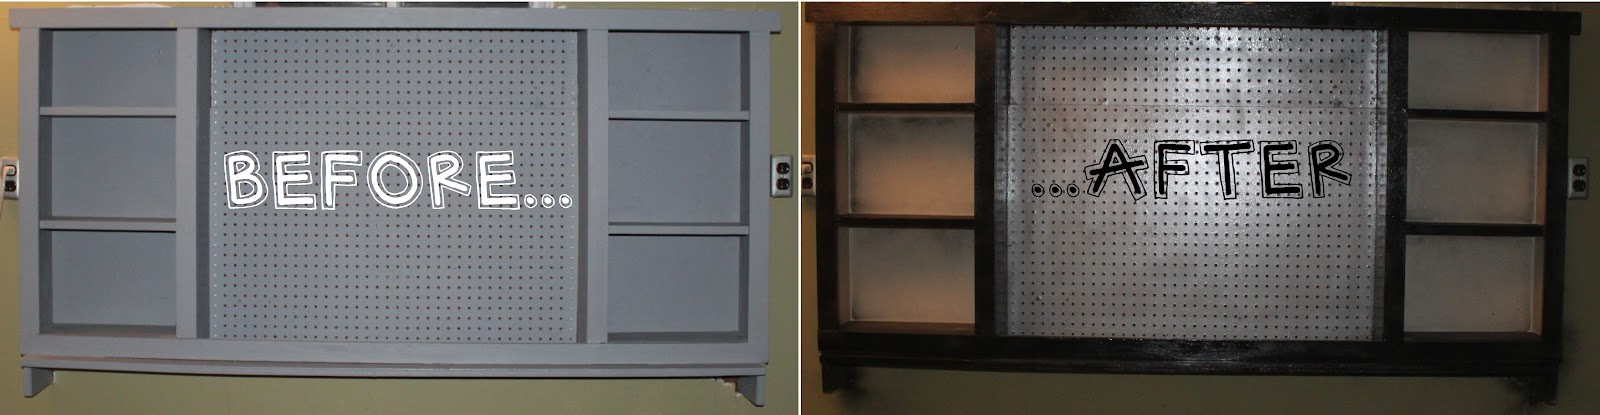
This thing was in our house when we moved in...I've always thought it was ugly. At one point I nearly took a hammer to it.
Today I decided to refurbish it and make it my "craft" board.  All it took were a couple cans of spray paint...and about an hour.
Here are before and after shots:
closeup of before and after


the entire area
a little closer
Originally I painted everything but the cork board that tan color (the cork board is a metallic spray paint), but I didn't like it AT ALL, so I decided to try spraying the edges black...turns out I LOVE the look.  Now it doesn't look old and outdated...more like new and sophisticated:)

total time: 1 hour
total cost: free (pre-purchased paints)