Thursday, September 4, 2014

DIY Burlap Stocking with Lining


I've wanted to make stockings for a couple years. Now that I'm in my permanent home & have the decor that I like I decided it's time to get going.  I decided burlap was the way to go.

I found a couple diy tutorials and started with those.  I used this site for the stocking template (I changed it just a bit).  I used this site & this site to help me figure out how to sew them.

I was having trouble, I'm not going to lie.  I wanted my lining to be sewn into the stocking, but I just couldn't figure it out until I found this site!  Totally saved me.  I even undid my not-so-great stockings and redid them so they (a) all matched and (b) were right.

Now for the DIY:

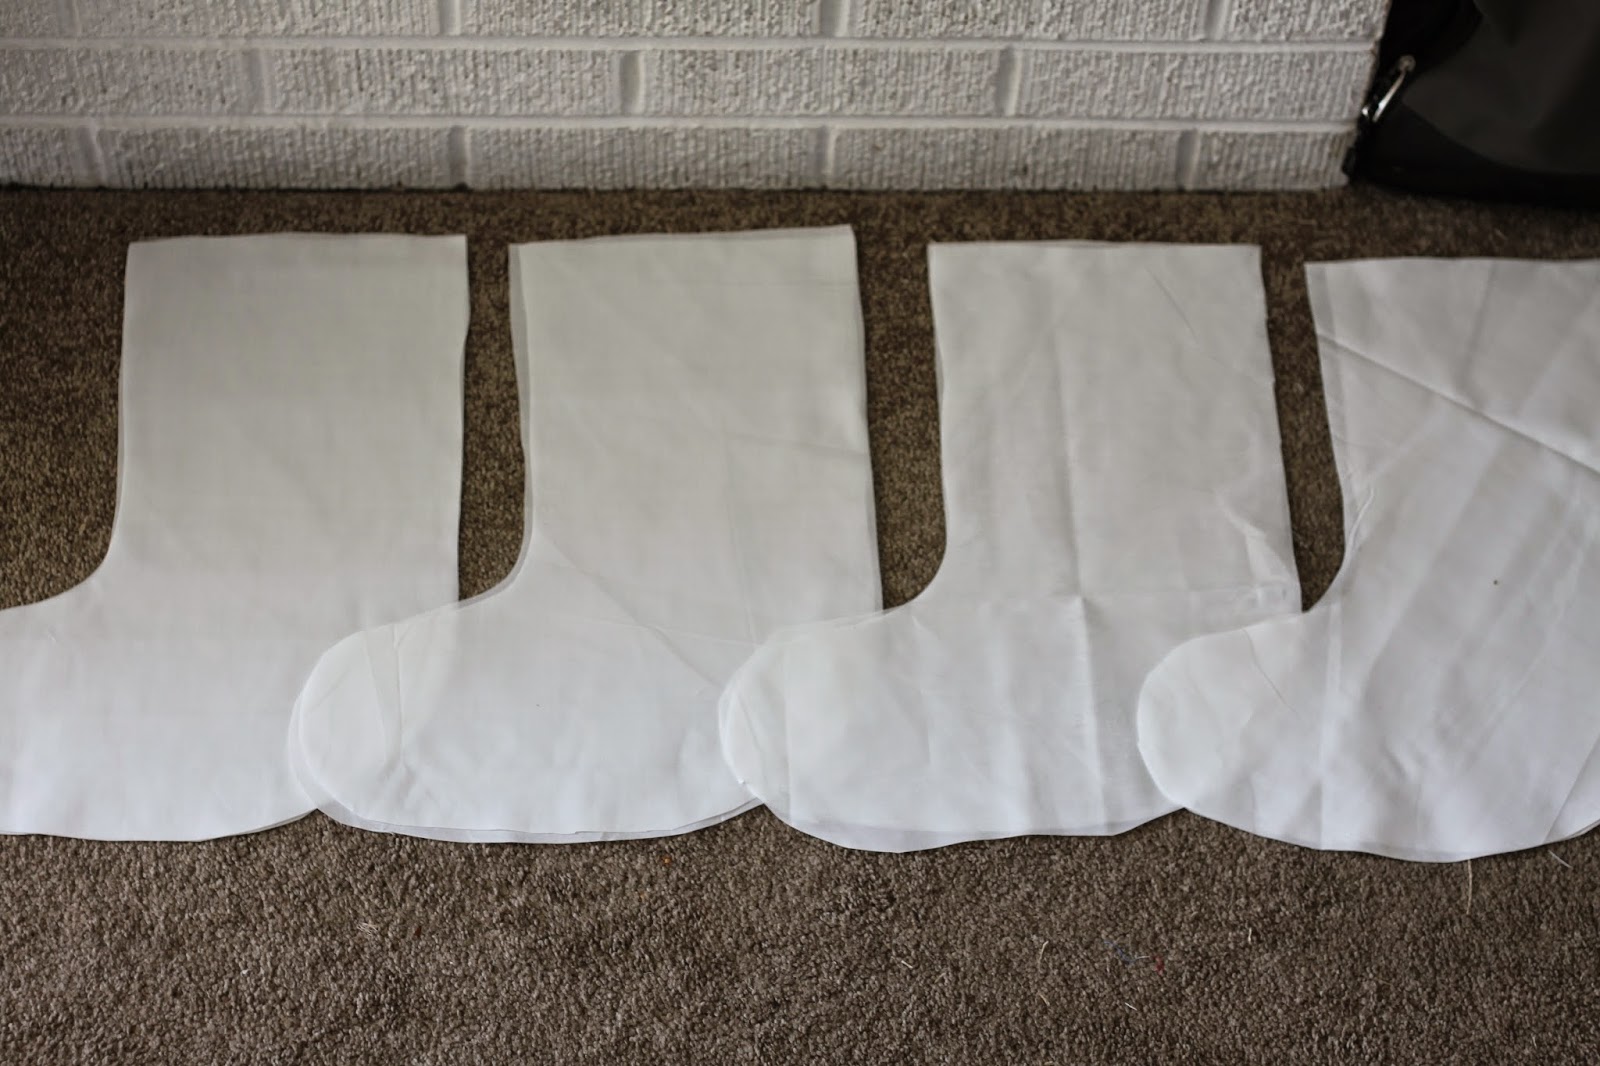
Again, find (or make) a pattern you like and cut out your stockings.  I bought 1 yard of burlap & muslin and got about 5 sets out of each.


Next I cut out my cuffs. I did 4" x about 8" (the width of my stocking top).  I sewed the cuff to the lining


 Then [I sewed the lining together & then the stocking together…save yourself some time] I placed the 2 linings on top of the two burlap pieces...
Make sure the cuff is out (right sides together).    


Make sure to overlap the burlap with the cuff about 1/4"as well

Sew around the edges, but not the top, only the sides (including cuff) & bottom

Should look something like this when you're done

cut around the corners/rounded areas to allow movement


cut extra material off to reduce bulkiness when turned
Now the fun part...

This is what it should look like...you're going to turn it right sides out...from the lining so the lining will be o

Alright, now that the lining is on the outside (looks like a nice white stocking), pull from the inside again, this time between the burlap

This is what it should look like if you did it right, the cuff is inside out, but the burlap is right sides out:)


Now stitch along the top of the stocking, leaving the cuff still out

Hem the end of the cuff

Now the cuff & the top of the stocking are stitched, it's time to fold the cuff over
Ta da...

Almost done...now for the loop..


See how the lining is clean (right sides out) and so is the stocking


Sadly, this is what took me so long to figure out....until I found that tutorial.  I had three stockings that were not right...had to un-stitch them all :/

Now for the hanging loop.  I've kind of been obsessed with grommets & twine (and this fabric if you've read previous posts).


Found the back of the stocking where I wanted to put the grommet

Using this tool (found online or at local craft store), use the small part against the metal punch

Place it on the designated spot & push

...hard.  You should hear/feel it go through the fabric

It should leave a little hole going all the way through.  Use scissors if you need to
Grommets...two different pieces, the flat piece and the ... other piece

Place piece with the lip on the front (or outside) of the hole

push it through...

so it comes out the inside of the stocking and the edges are completely exposed

Place the flat piece on the inside, over the lip

Push & twist the white plastic piece so the larger end is over the metal piece

Place the metal part over the lip of the grommet, making sure it's as flat & even as possible

Press until you've heard it and it should look like this
Add some twine & there you go

Now you can see the grommet & the clean seams of the interior lining

Look from the back
Love the look

Love the grommet look

Simple stockings


 There you have it.  Hopefully that helps a bit with your Christmas stockings diy.  I still have to individualize them, but I still have a couple months...right??


The burlap & muslin I got at JoAnn's for about $4 a yard.  I bought 1/2 yard of the cuff at $6.29 a yard.  Already had the twine & grommets.


Wood Candy Corn

I saw these here & here and thought they were pretty cute.  They looked pretty simple so I gave it a go.

I free handed my own templates, three different sizes.

print as 8 1/2 x 11
Trace onto wood (mine is about 3/4" thick)
 Again, thanks to my grandpa, we were able to cut these out in a jiffy.
Cut and sand


Little painting, sanding, & sealing...


I was about ready to glue them together, when my mother-in-law had the great suggestion of using magnets to hold them together.  Let's be honest here, basically all my decorations end up being toys.  This idea made is so my 2-year-old can actually play with them like puzzles.


My husband used a 5/16" spade drill bit to drill the holes.  Pretty easy.  The tricky part was making sure the holes lined up with each other.

I found the magnets @ The Home Depot for around $6, they worked great.

A little tacky glue & some waiting and now my candy corn is done...


Now these can be fun for the kiddos as much as the adults:) Happy Halloween (or fall, or autumn, or Thanksgiving)...


Thursday, August 28, 2014

10 Step Wood Pumpkins

I know, I know.  I just barely posted about my back to school shelf & now I'm already onto Halloween...

Well, I figured I'd get them out of the way so they'd be ready.  They aren't going on the shelf until October, so don't worry about that.

Anyway.  I have extra wood.  I have extra time.  I like to use both.  I pinned this probably a year ago or so, but finally got around to making my own version.


The pumpkin idea is super cute...and super easy.  Just a 2x4, some paint & a few other things.

Materials:
2x4 scraps
1x1 scraps (for stem)
Hanger (for vine), optional
Craft pliers (the purple & blue) for my project.
Paint, orange, brown & green
Wood of Tacky Glue
Sander & sand paper
Paint brush
Drill & 5/64" drill bit, optional
Hack Saw
Shellac/Sealer

Step 1:
Cut your boards to the size you want.
Mine are 3.25, 4 & 8 inches tall.  Don't forget to cut your stems too.  I did various sizes of what I thought would look good (about 1x1.5x3/4" for the two tall ones, a bit shorter for the small pumpkin)

Step 2:
Sand them down.
I tried to round my edges a bit to get more effect, but do what you like.

Step 3:
Paint your wood.  I used a regular orange craft paint for the pumpkins.
For the stems I combined white & coffee bean to make a brown I liked.

Step 4:
While those are drying, cut and twist the hanger to make the vines.
It wasn't hard, just took a bit of time.  There was a coating on my hanger that kind of peeled off as I was doing this, which was fine, it doesn't matter.

Step 5:
Paint the vines.
I actually used spray paint for these, way easier than trying to hand paint them.

Step 6:
When the boards are dry [if you want a weathered look, sand the edges], take the hacksaw and saw lines down the middle of the pumpkins.  [I actually did this BEFORE I painted...wrong.  Do it after to get the lighter effect that looks better].

Step 7:
Shellac everything & let dry.  I used a sating polyurethane I already had, but you could use mod podge or whatever you have on hand.

Step 8:
Drill holes for the vines to go in (or just hammer them in if your wood is soft enough).
On one end of all my vines, I left about a 1/4-1/2" straight piece that could go into the wood.


Step 9:
Glue stems to pumpkins, let dry


Step 10:
None, you're done!


See, easy & 10 steps..okay, really nine.  It took me about an hour or so to do this & it was FREE since I had all the materials.

Happy Halloween (or Thanksgiving, whatever you use these for)


Tuesday, August 12, 2014

Back to School Mantel/Shelf

July is over, September is quickly approaching, October is too far away.  I decided to do a "school" shelf. My son isn't even two yet, but I figured it's never too early to start teaching right?

I searched for some cute school themed decor and found some.  My favorite was from Tatertots & Jello.  I thought this was adorable, and kid-friendly.  I don't have a mantel, but a bookshelf that I usually seasonally decorate.  Perfect.

I had some wooden abc blocks I bought for my son's 1-year-old birthday party, but didn't think it was enough.  I bought them in the Melissa & Doug little cart, but I didn't want to spend that much for the blocks again (and still not have enough).  What were my options?  I looked online and found some at Toys R Us for cheap.  I spent $18 (about $4 more than the one set from Melissa & Doug costs) and got over 100 blocks ($3 for a pack of 15 blocks).  I was thrilled!  They even had numbers, so I was happy.


Next.  I loved the rulers & pencils from the tatertots page.  Easy to duplicate.  Smith's Marketplace was having a great sale on school supplies.  Twenty pencils for $1.  The rulers were about $.60 a piece, a little pricey, but I wanted the nice wood ones.  Mason jars-free.


I love creating my own subway art.  I have this favorite font - Smiley Monster - that I just love.  It's so cute.  I decided to make a simple subway art using that font.  I came up with some words/phrases that reminded me of school & came up with a cute little 8x10.

I had this idea that wooden letters would be so cute.  I am super super lucky to have such a talented (and generous) grandfather.  He has his own wood shop & is so kind to let me use his tools, machines and supplies.  Again, I used Smiley Monster for the letters.  I printed them out on my computer, found a scrap piece of wood at home and traced them on.  My grandpa and I cut them out, sanded them and I painted them primary colors.  I absolutely love how they turned out.  I also love the fact that they are congruent with the subway art.

So, there you have it.  I absolutely love the way it turned out.  And the best part is it is all kid-friendly.  My boy is all boy, so he definitely plays hard and is rough, but these are sure to last.


I even got so creative that I made my own alphabet tracing/learning pages for my kiddo.  I used the font KG Miss Kindergarten for each letter.  I either found and traced or free-handed the drawings for each letter.  Super cute.  Here's a quick little taste of a couple.

(I don't know copyright laws with the font & some of the drawings, so I don't want to post them all)