So my sister told me her kids could use one of those crayon travel cases (I've seen them all over, the little crayon roll ups). Well, I thought, "since I'm a stay-at-home mom now, I have time to make them." Yesterday I headed over to JoAnn's and got some fabric (their favorite colors)...and I bought some crayons at Smith's for 99 cents a pack...
I looked all over for the right tutorial. There are the crayon roll ups, the crayon and paper books, and finally I found
this tutorial. It looked like the easiest to follow (for the most part) and had the idea that I wanted.
Sew (lol), here is what I did. The first one took a bit of time, trying to figure out all the little details, but after that, the others came together quite quickly.
You will need:
Fabric:
2 pieces 15 1/2" x 7 1/2"
1 piece 15 1/2" x 6"
Interface:
1 piece 15 1/2" x 7 1/2"
1 piece 15 1/2" x 3 (optional)
Ribbon (I used extra fabric so it would match):
1 piece 11-12"
1 piece 17-18"
 |
| The materials I got to make three books...I got a full yard of the hand fabric & the interface, and a 1/2 yard of the solid colors (definitely had leftover). Iron all your fabric first. |
 |
| Cut two pieces the fabric 15 1/2" long |
 |
| and 7 1/2" wide |
 |
| Cut the "pocket" 6" wide |
 |
| and 15 1/2" long |
 |
| Here are the pieces I'll work with to make one book...the two solids (for the front & back) & interface, the pocket & interface (I used interface for the pocket to make it a bit stronger and because the fabric was a little see-through). |
 |
| [directions on how to use interface] |
 |
| Iron the interface to one piece of the "book" fabric |
 |
| [not pictured: place interface on wrong side of "pocket". Iron, then fold in half (wrong sides together)] |
 |
| sew 1/4" seam along the folded edge of the pocket (this seemed confusing as to why do this, but it makes sense I promise) |
 |
| see... |
 |
| place the right side of the "book" and the "pocket" (folded/sewn side at the top) together |
 |
| put the "ribbon" or ties (I used extra fabric so it'd match), long one, then short one on top [sidenote: make sure to place them ABOVE the pocket...unlike what I did] |
 |
| then place the other piece of the "book" on top (right sides together, so you're looking at the wrong side) |
 |
| sew 1/4" around the entire thing, but leave a 2" gap where the ribbon comes out on the side |
 |
| the hardest part was turning it right sides out. |
 |
| that's the 2" hole... |
 |
| fold it in so you can't tell... |
 |
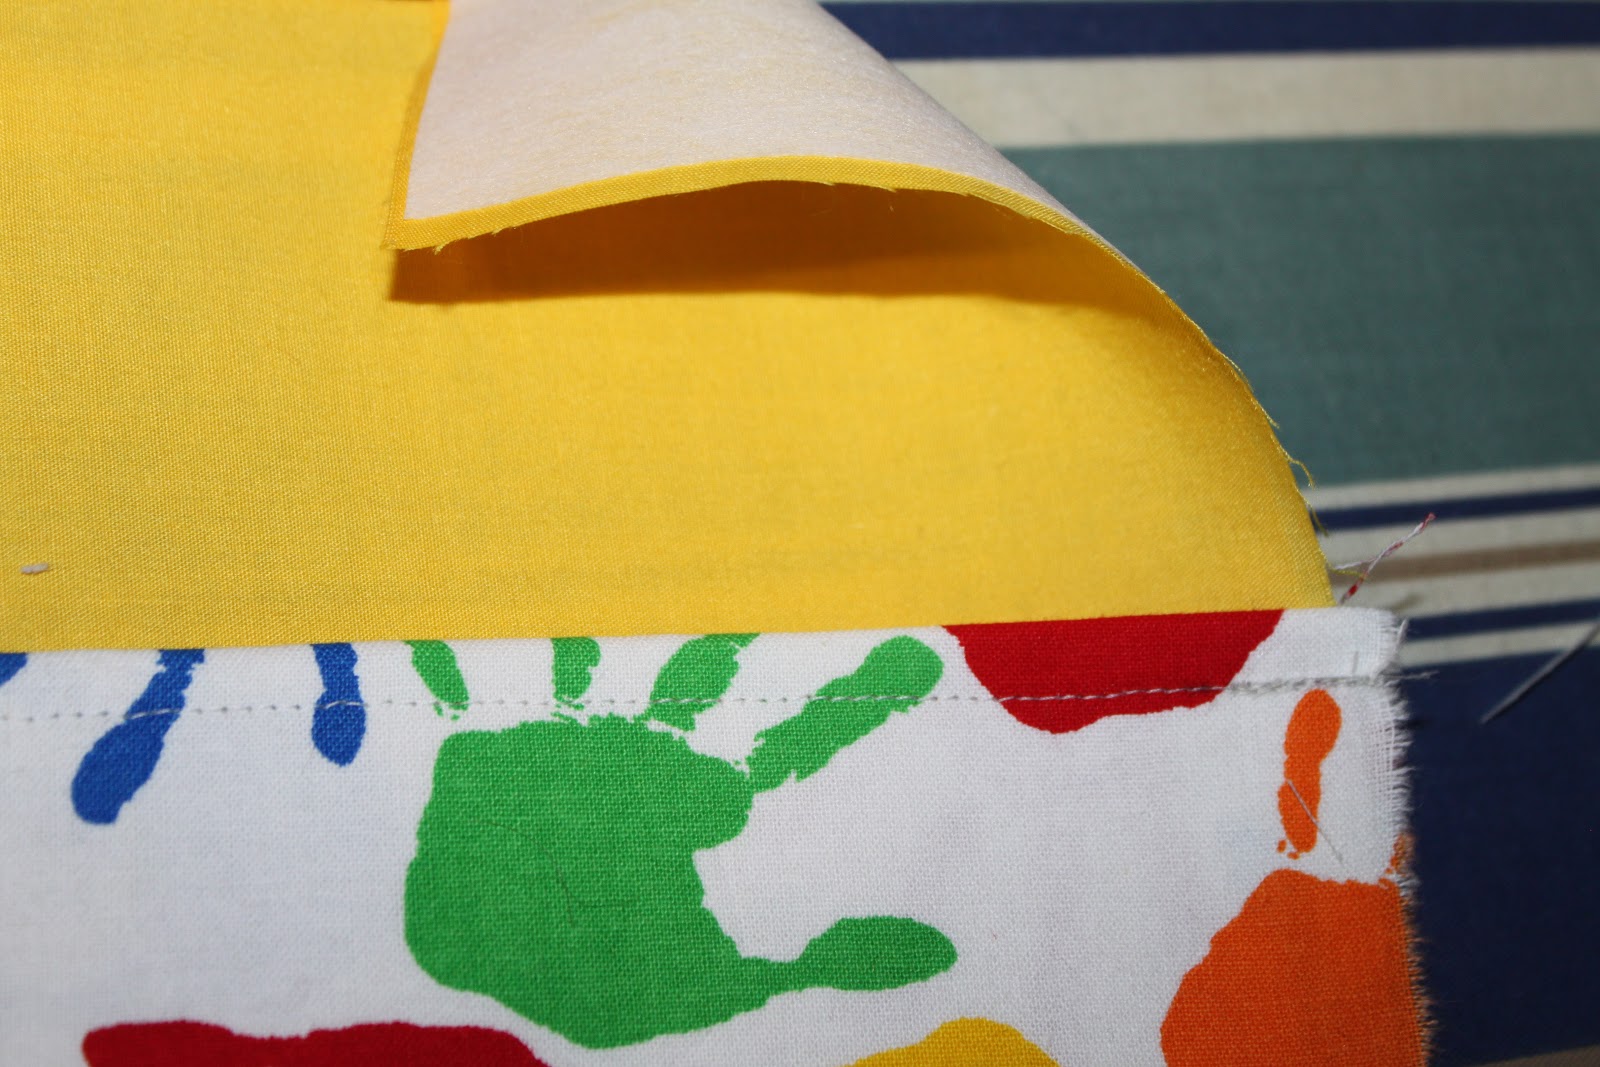
| sew around the whole thing with a 1/4" seam [see how the ribbon is coming out of the pocket...oops!] |
 |
| fold it in thirds and iron each crease |
 |
| see the creases |
 |
| sew down the crease |
 |
| I measured 7/8" for each crayon. |
 |
| And there you have it... |
 |
| Cute all folded up |
 |
| place a pad of paper (where the crayon box is) and put the crayons on either side |
Hopefully that helps...at least it helps me.
Total Cost: $18
Total Time: 3 hours (to figure it out)


SEW cute! And they look like a lot of work, so glad YOU did them! Thanks!
ReplyDelete